Bleeding the brakes is one of those car maintenance jobs that sounds harder than it is. But if you skip it, you could end up with a soft pedal or even dangerous braking. Many drivers don’t realize that air in the brake lines can make stopping your car unreliable.
Knowing how to bleed brakes gives you better control, saves you money, and helps keep you safe.
This guide will walk you through the full process. You’ll learn why bleeding brakes matters, the tools you need, and the best step-by-step methods. I’ll share tips from real-world experience and highlight mistakes people often make. Even if you’re new to car maintenance, you’ll finish this article with the confidence to do the job yourself.
Why Bleeding Brakes Is Important
Your car’s brakes work by pushing brake fluid through lines to the wheels. If air gets into these lines, the pedal will feel spongy because air compresses more than fluid. This means your car might not stop as quickly as you expect. Common causes of air in the system include:
- Changing brake components like calipers or hoses
- Letting the fluid level drop too low
- Leaks in the brake system
Most car makers recommend bleeding the brakes every 2–3 years or when you notice a change in pedal feel. If you drive in hilly areas or tow heavy loads, regular bleeding is even more important.
Tools And Materials Needed
Having the right tools makes the job faster and less messy. Here’s what you’ll need:
- Wrench or socket for the bleeder screws (usually 8–11mm)
- Clear tubing (fits over the bleeder screw, about 2 feet)
- Brake fluid (check your owner’s manual for type—DOT 3, DOT 4, or DOT 5.1)
- Catch bottle or container for old fluid
- Turkey baster or syringe (optional for removing old fluid from reservoir)
- Gloves and safety glasses to protect your skin and eyes
- Car jack and jack stands or ramps for safe lifting
- Wheel chocks to prevent rolling
- Shop rags for cleanup
You can also buy a one-person brake bleeder kit, which comes with tubing and a special bottle or pump. This is especially handy if you’re working alone.

Credit: www.youtube.com
Types Of Brake Bleeding Methods
There are several ways to bleed brakes. Each has its pros and cons. The right method depends on your experience, tools, and whether you have a helper.
| Method | People Needed | Tools Required | Best For |
|---|---|---|---|
| Manual (Two-Person) | 2 | Basic | Most home mechanics |
| Gravity Bleeding | 1 | Basic | Simple jobs, patient users |
| Pressure Bleeding | 1 | Pressure bleeder | Quick, efficient, modern cars |
| Vacuum Bleeding | 1 | Vacuum pump | Quick, one-person jobs |
The most common method is the manual two-person method. It’s reliable and works for almost all cars. I’ll focus on this method but will explain others too.
How To Bleed Brakes: Step-by-step
Bleeding brakes takes patience and attention to detail. Rushing can lead to mistakes. Here’s how to do it safely and effectively:
1. Prepare The Car
- Park on a flat surface and put the car in gear or park.
- Set the parking brake and place wheel chocks behind the wheels.
- Loosen (but do not remove) each wheel’s lug nuts.
- Use the jack to lift the car and place it securely on jack stands.
- Remove the wheels to access the brake calipers or drums.
2. Check And Fill The Brake Fluid
- Open the hood and locate the master cylinder reservoir.
- If the fluid is dirty or low, use a turkey baster to remove the old fluid and wipe the reservoir clean.
- Fill with fresh fluid to the “MAX” line.
- Replace the cap loosely to keep dirt out but allow air to escape during bleeding.
3. Find The Correct Bleeding Sequence
Most cars have a recommended bleeding order. It’s usually farthest wheel from the master cylinder first, then the next farthest, and so on. For most left-hand drive vehicles:
- Right rear
- Left rear
- Right front
- Left front
Check your owner’s manual or a repair guide to be sure. Some cars (especially with ABS or diagonal split systems) have a different order.
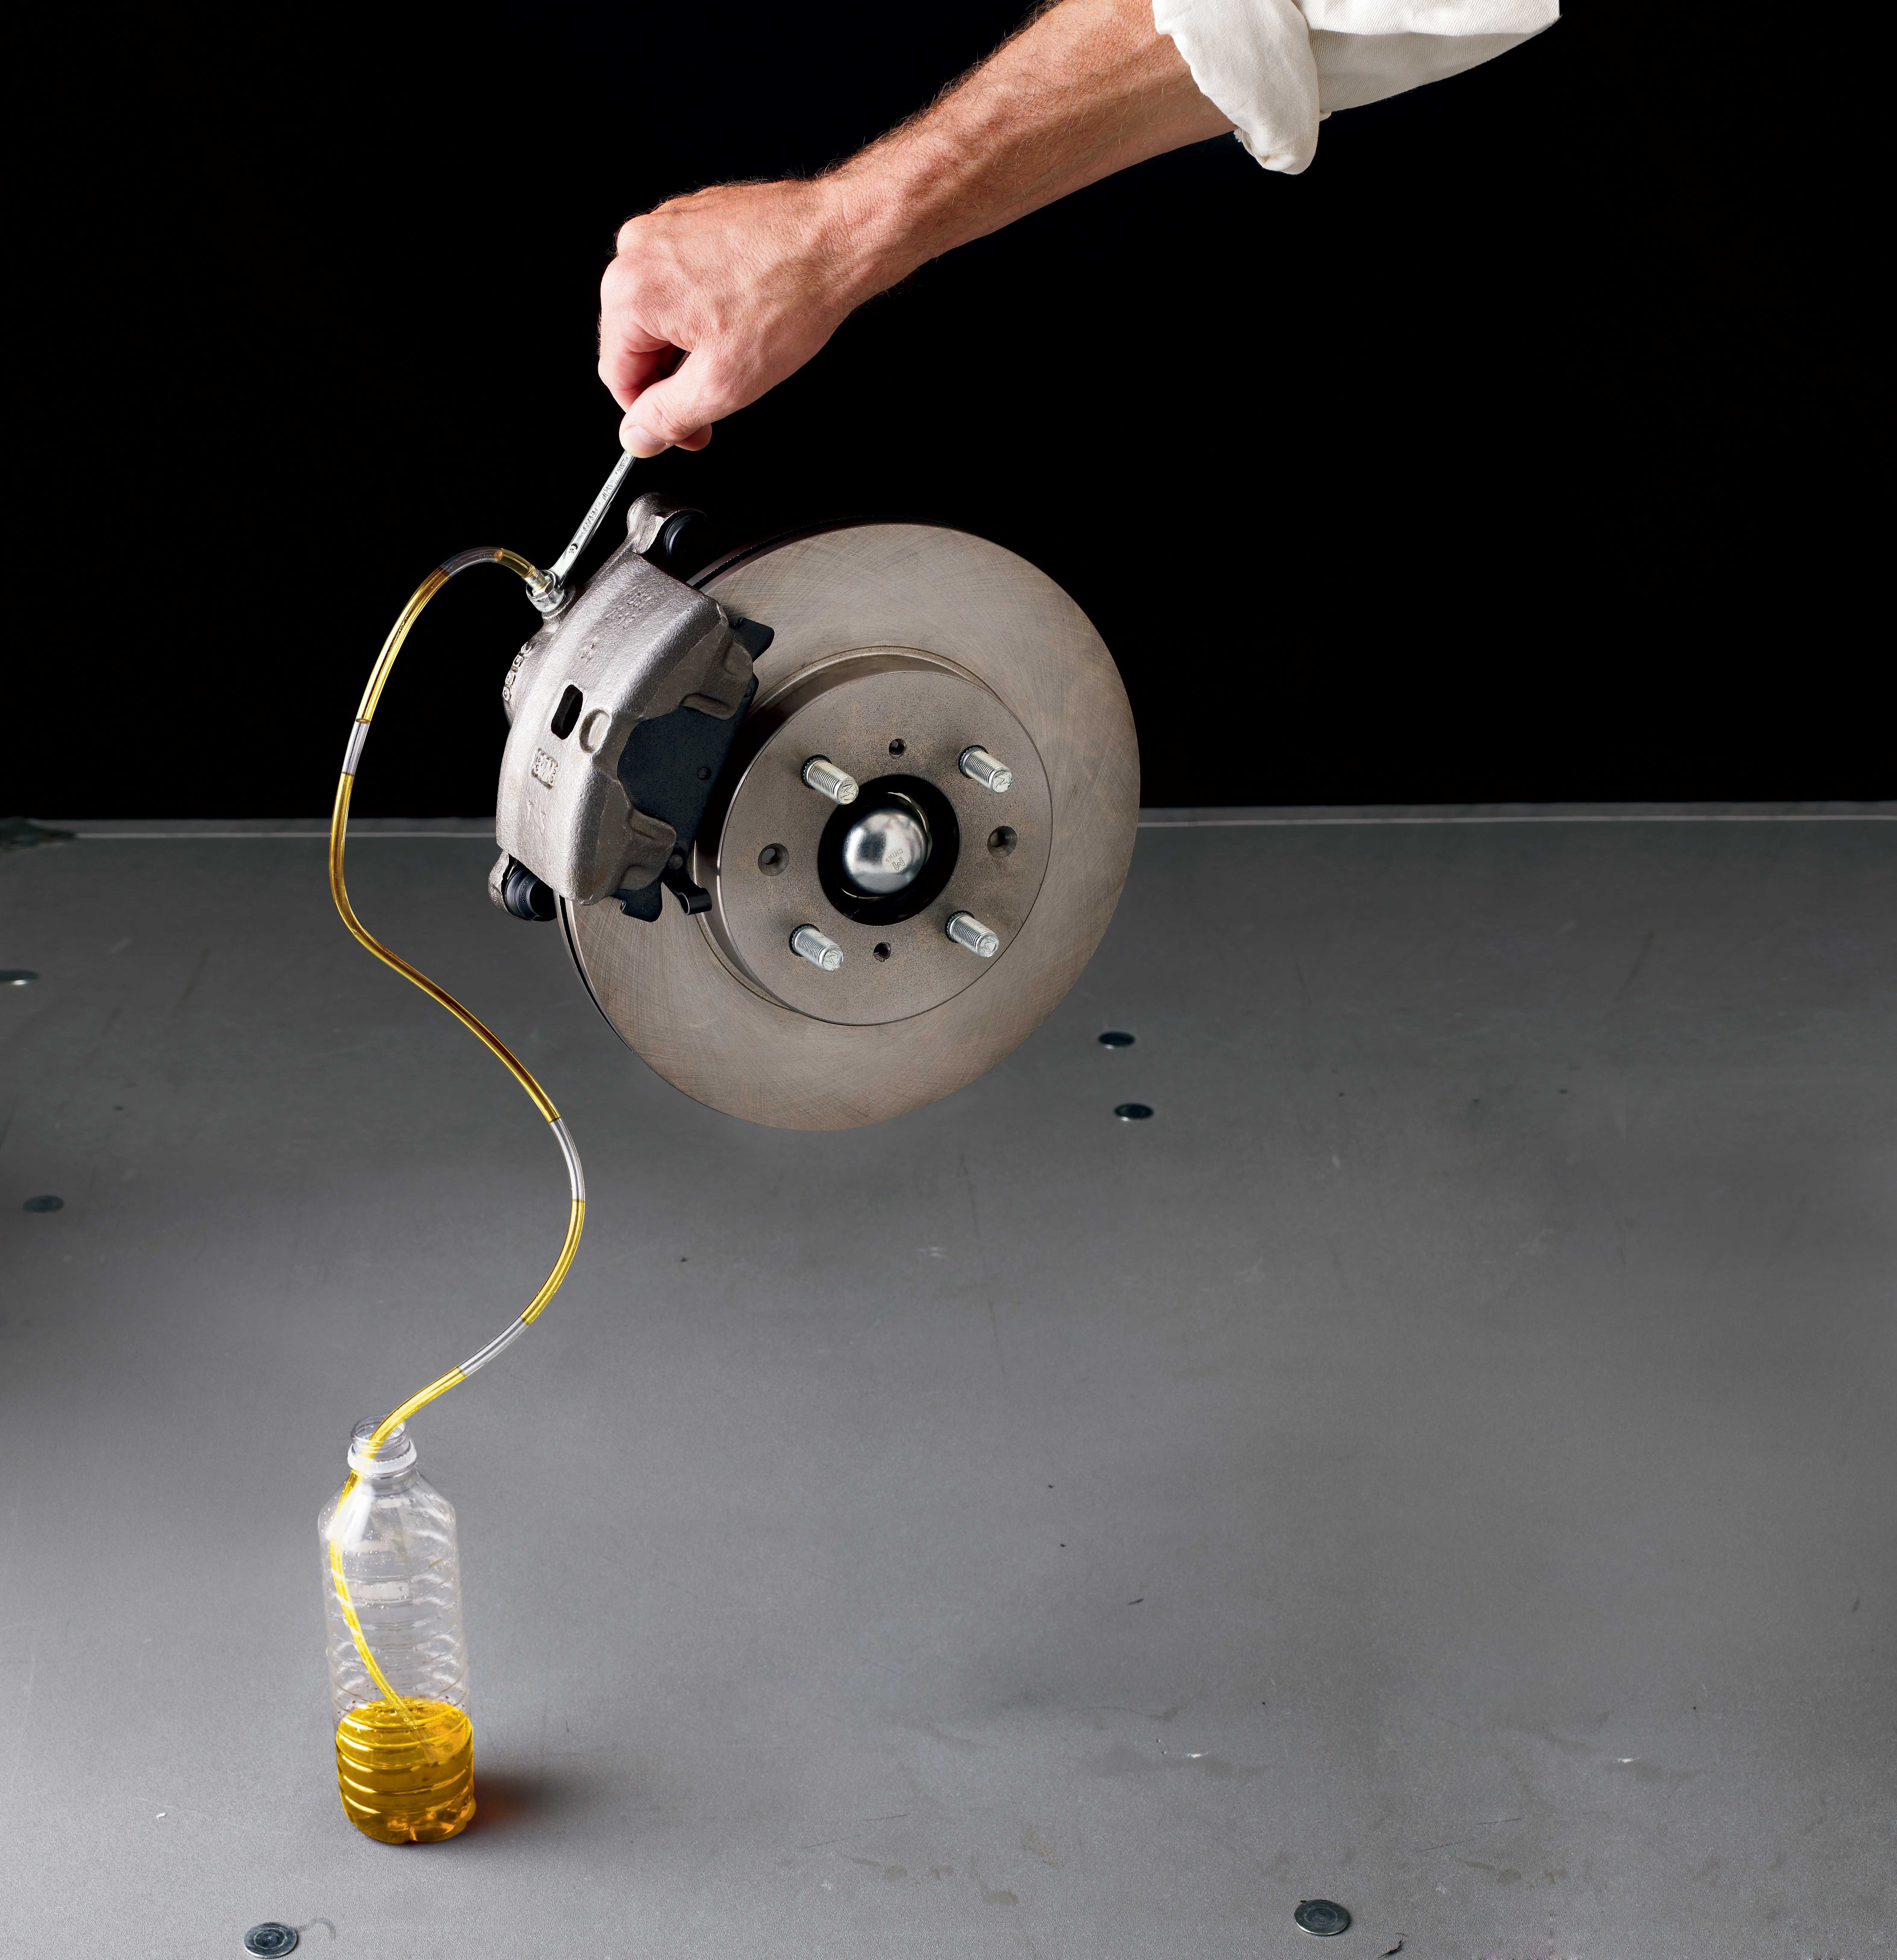
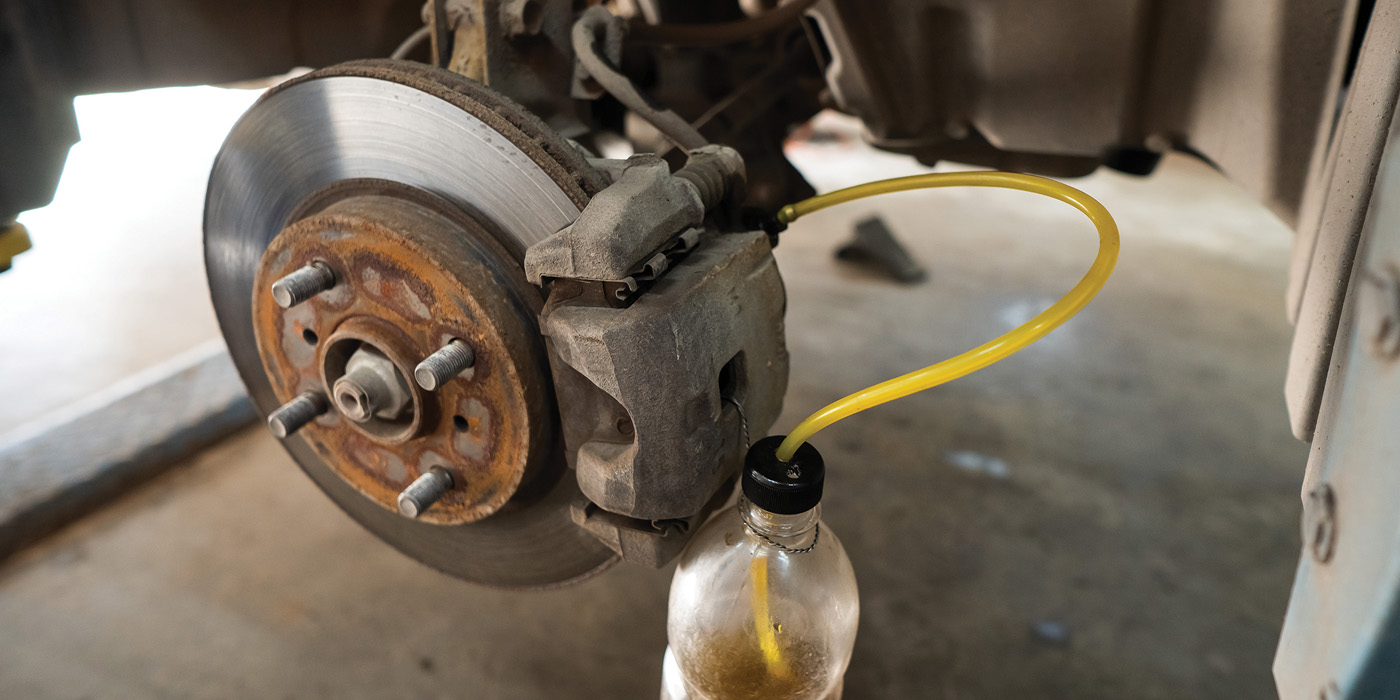
4. Set Up The Bleeding Equipment
- Place one end of the clear tubing over the bleeder screw on the first wheel.
- Put the other end in a catch bottle with a little brake fluid at the bottom (so air doesn’t get sucked back).
- Make sure the bottle is lower than the bleeder screw to prevent backflow.
5. Bleed The Brakes (manual Two-person Method)
- Have your helper pump the brake pedal slowly 3–5 times, then hold it down.
- Use the wrench to loosen the bleeder screw (about a quarter turn).
- Watch for old fluid and air bubbles coming out through the tubing.
- When the flow slows, tighten the bleeder screw before your helper releases the pedal.
- Repeat this process until you see clear fluid with no bubbles.
- Keep checking and refilling the master cylinder so it never runs dry.
Repeat the process for each wheel in the correct order. Use a clean rag to wipe away any spilled fluid, as brake fluid can damage paint.
6. Final Steps
- Top off the master cylinder to the “MAX” line.
- Replace all wheels and tighten the lug nuts by hand.
- Lower the car and torque the lug nuts to the correct specification.
- Pump the brake pedal a few times. It should feel firm.
- Test the brakes at low speed before driving normally.
Credit: www.popularmechanics.com
Alternative Bleeding Methods
Some situations make alternative methods better. Here’s how they work:
Gravity Bleeding
- Open the bleeder screw and let gravity pull fluid through the system.
- This method takes longer but works well for simple jobs or after small repairs.
Pressure Bleeding
- Attach a pressure bleeder to the master cylinder.
- Pump up the device to about 15 psi.
- Open each bleeder screw in order, and fluid will flow out without a helper.
- This is the fastest, cleanest method, especially for modern cars with ABS.
Vacuum Bleeding
- Attach a vacuum pump to the bleeder screw.
- Pump to create a vacuum and draw fluid and air out.
- This is handy if you’re alone, but you must watch for air leaking in around the bleeder threads.
| Method | Speed | Ease | Cost |
|---|---|---|---|
| Manual | Moderate | Easy | Low |
| Gravity | Slow | Very Easy | Low |
| Pressure | Fast | Moderate | Medium |
| Vacuum | Fast | Moderate | Medium |
Common Mistakes And How To Avoid Them
Bleeding brakes can be straightforward, but many people make small errors that lead to problems.
- Letting the master cylinder run dry: Always keep it topped up. If it empties, you’ll pull air into the whole system.
- Not following the correct sequence: Always check your car’s bleeding order.
- Over-tightening bleeder screws: These can break or strip easily.
- Using the wrong fluid: Mixing DOT 3, 4, or 5.1 can damage seals. Never use DOT 5 in ABS cars unless it’s specified.
- Missing leaks: After bleeding, check for leaks at all connections and around the bleeder screws.
One non-obvious tip: Always test the pedal before reinstalling the wheels. If you find a soft pedal, you can repeat the process without extra work.
Practical Tips For Success
- Use fresh, unopened brake fluid. It absorbs water from the air, which can lower performance.
- If you’re working alone, try tying down the brake pedal overnight with a stick or bungee cord. This can sometimes help air work its way out.
- If you have ABS, avoid pumping the pedal quickly with the ignition on. Some systems require a scan tool for full bleeding.
- Keep plenty of shop rags handy. Brake fluid is corrosive and can strip paint quickly.
How Often Should You Bleed Brakes?
For most cars, bleeding the brakes every 2 to 3 years or every 30,000 miles is enough. But if you drive in wet climates, tow, or do track days, you may need to bleed more often. If you ever feel the pedal getting soft or see brake warning lights, check the fluid and bleed as needed.
Credit: www.counterman.com
Signs You Need To Bleed Your Brakes
- Spongy or soft brake pedal
- Longer stopping distances
- Brake warning light
- Visible air bubbles in the reservoir
- Brake work was recently performed
If you notice these signs, don’t wait. Air in the lines reduces safety and can damage expensive parts.
Cost Of Bleeding Brakes
Doing it yourself costs $10–$30 for brake fluid and maybe a few more dollars for tubing or a catch bottle. Shops charge $70–$120 for a full bleed. Investing in a pressure or vacuum bleeder can pay for itself in a couple of years, especially if you maintain multiple vehicles.
When To Seek Professional Help
Some cars, especially newer ones with ABS or electronic brakes, need special tools. If you run into problems or your pedal still feels soft after repeated bleeding, it’s wise to have a pro check the system. Never take chances with brakes.
For more detailed info about vehicle braking systems, you might find the overview at Wikipedia helpful.
Frequently Asked Questions
How Long Does It Take To Bleed All Four Brakes?
Usually, it takes 30–60 minutes for a full bleed if you have all the tools ready. The manual method is a bit slower, while pressure or vacuum methods are faster.
Can I Bleed Brakes By Myself?
Yes, you can use gravity, pressure, or vacuum bleeding methods. For the manual method, you need a helper. One-person bleeder kits are also available.
What Happens If Air Stays In The Brake Lines?
Air in the lines makes the pedal soft and reduces braking power. In extreme cases, your brakes can fail. Always bleed air out as soon as possible.
Do I Need To Bleed All Brakes Or Just One?
If you open the system or change a component on one wheel, you usually need to bleed at least that wheel. But bleeding all four ensures even, reliable braking.
Is It Safe To Drive With A Soft Brake Pedal?
No. A soft pedal means your brakes are not working properly. It’s unsafe to drive until you fix the issue and the pedal feels firm again.
Bleeding your brakes is a simple skill that pays off in safety and confidence. With the right tools and attention to detail, you can do the job yourself and enjoy better braking performance for years to come.
