
Car relays are small but important parts inside your vehicle. They silently control different electrical systems like headlights, fuel pumps, cooling fans, and even your car’s starter motor. When a relay fails, the system it controls might stop working or act strangely.
Testing and replacing relays is a simple task that can save you money and prevent bigger problems. If you want to learn how to check and change car relays safely, this article will guide you through every step, from understanding what a relay does to real-world troubleshooting tips.
What Is A Car Relay And Why Is It Important?
A car relay is an electromechanical switch. When you turn on a switch inside your car (like the headlights), a low current flows to the relay. The relay then closes another circuit, allowing a much higher current to flow to the device itself. This keeps your dash switches and wiring safe from overheating.
For example, your fuel pump relay allows a small signal from the ignition to control the high power needed by the fuel pump. Without relays, switches would have to handle much more electricity, wearing out much faster.
Relays are used for:
- Headlights
- Fuel pumps
- Starter motors
- Electric fans
- Windshield wipers
- Air conditioning
If any of these systems suddenly stop working or behave oddly, a faulty relay could be the cause.
Signs Of A Bad Car Relay
Relays can fail in several ways. Knowing the symptoms can help you spot the problem early:
- Intermittent operation: Devices work sometimes, then stop without reason.
- Complete failure: The system (like headlights) won’t turn on at all.
- Unusual sounds: Clicking or buzzing noises from the relay area.
- Stuck relay: The system stays on even after you turn it off.
- Burning smell: Overheated relays may produce a plastic or electrical smell.
A key insight: Sometimes a failing relay will work again after cooling down, then fail once it gets hot. Don’t trust a relay that works only “sometimes.”
Tools And Safety Precautions
Before you begin, gather the right tools and take safety steps. This prevents injuries and avoids damaging your car’s electrical system.
Tools you’ll need:
- Multimeter (for voltage and continuity tests)
- 12V test light
- Needle-nose pliers
- Replacement relay (if needed)
- Owner’s manual (for relay locations)
- Gloves and safety glasses
Safety tips:
- Always disconnect the battery if you must remove or install relays.
- Never test a relay near flammable materials.
- Use insulated tools to avoid accidental short circuits.
How To Locate The Car Relay
Finding the right relay is often the hardest part, especially since modern cars may have dozens. Here’s how to do it:
- Check your owner’s manual. This usually has a diagram of the fuse and relay box.
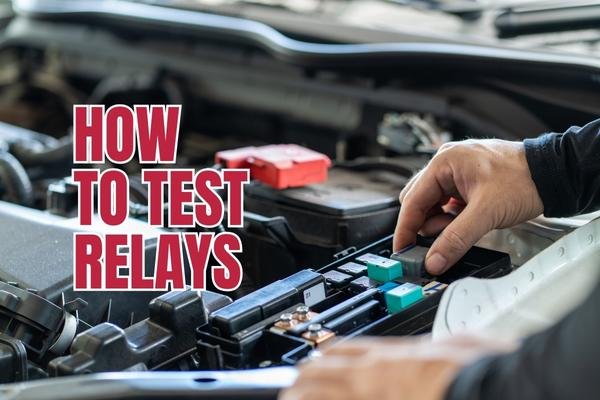
- Look under the hood. Most relays are in a plastic box near the battery.
- Check under the dashboard. Some relays for things like the blower motor are found here.
- Label reading. Each relay box cover often has a label or diagram for each relay.
If your manual is missing, many automakers have free online PDF manuals. Or, you can search for your car’s make, model, and year plus “relay diagram. ”
Credit: abcadvancedauto.com
Step-by-step: How To Test A Car Relay
Testing a relay is not difficult, but you need to be careful and systematic. Here are the steps:
1. Visual Inspection
Remove the suspected relay and check for:
- Burn marks or melted plastic
- Bent or corroded pins
- Cracked or broken housing
A relay with obvious damage should be replaced immediately.
2. Swap Test
Many relays in your car are identical. If a non-essential system (like the horn) uses the same relay as the fuel pump, swap them. If the problem moves to the other system, the relay is bad.
3. Continuity Test With A Multimeter
Relays have pins marked 85, 86, 87, and 30 (sometimes 87a). Here’s what they do:
- 85/86: Coil pins (control side)
- 30/87: Switch pins (load side)
Steps:
- Set your multimeter to Ohms (resistance).
- Place probes on pins 85 and 86. You should see a reading between 50-200 ohms. Infinite or zero means the coil is damaged.
- Place probes on 30 and 87 (with relay not energized). There should be no continuity (open circuit).
- Next, apply 12V power to pins 85 and 86 (be careful!). Now, check between 30 and 87. You should see continuity (closed circuit).
If the relay fails any of these tests, it is faulty.
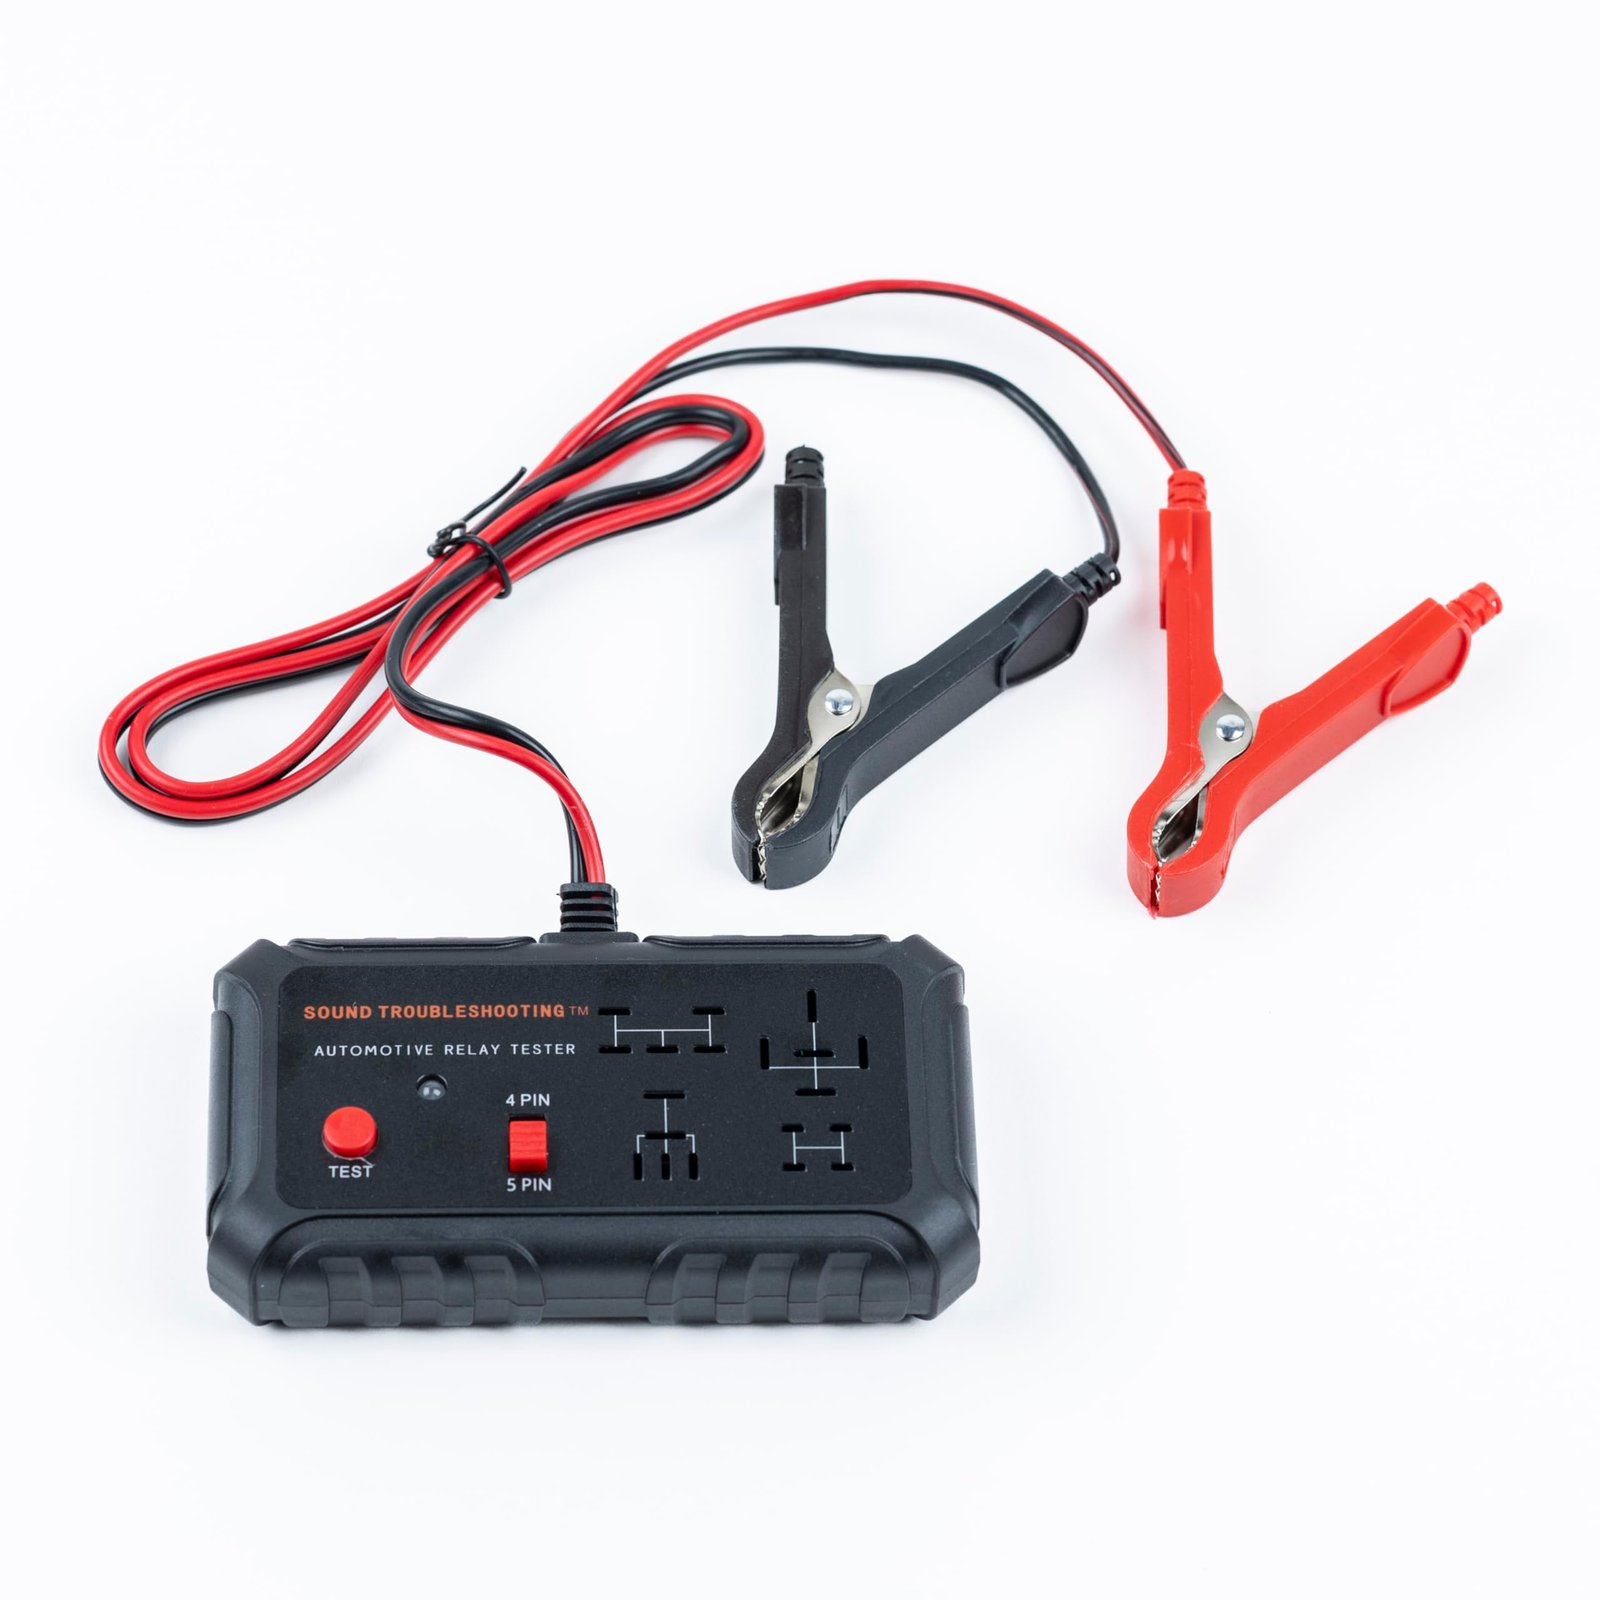
4. Bench Test With A 12v Battery
This is a real-world test:
- Connect a 12V battery to pins 85 and 86.
- Listen for a clear “click.” This means the relay is switching.
- Check if pins 30 and 87 now show continuity.
No click or no continuity means the relay is not working.
5. Test Light Method
If you don’t have a multimeter, a simple 12V test light works:
- Remove the relay.
- Bridge the relay socket terminals (for 30 and 87) with a wire.
- If the device works, but didn’t before, the relay is likely faulty.
How To Replace A Car Relay
Replacing a relay is usually quick. Here’s how to do it safely:
- Turn off the ignition and remove the key.
- Disconnect the battery (negative terminal first).
- Locate the relay box and identify the bad relay.
- Remove the old relay. Use needle-nose pliers if needed, but pull straight up to avoid bending pins.
- Insert the new relay. Make sure it is the correct part number. Line up the pins before pushing down.
- Reconnect the battery.
- Test the system. Turn on the device controlled by the relay (like headlights or fan) to ensure it works.
Never force a relay into the socket. If it doesn’t fit easily, check the part number and orientation.
Types Of Car Relays
Car relays come in different types and sizes. Knowing the type helps you buy the correct replacement.
| Relay Type | Common Use | Key Feature |
|---|---|---|
| Standard 4-pin | Headlights, fuel pump | Simple on/off |
| 5-pin (changeover) | Cooling fans | Can switch between two outputs |
| Solid state | Modern electronics | No moving parts |
| Time delay | Interior lights | Stays on for set time |
Always match the amp rating and pin layout to your original relay. A 30A relay cannot safely replace a 40A relay.
Common Mistakes When Testing Or Replacing Car Relays
Many car owners make avoidable mistakes. Here’s how to avoid them:
- Not disconnecting the battery: This can cause electrical shorts or shocks.
- Using the wrong relay: Mixing up the amp rating or pin layout can damage your system.
- Forcing the relay in place: Bent pins lead to poor connections or future failures.
- Ignoring the socket: Sometimes, the socket (not the relay) is corroded or damaged.
- Overlooking intermittent faults: Test relays under real conditions, including when hot, as some only fail after warming up.
A non-obvious tip: If a system keeps burning out relays, check for a deeper electrical problem such as a short circuit, overloaded device, or bad wiring. Simply replacing the relay will not solve these issues.
When To Replace Vs. When To Repair
Relays are cheap and widely available. If a relay is bad, it’s almost always better to replace it. Repairing a relay is rarely worth the effort because:
- Internal contacts wear out and cannot be fixed easily.
- Cracked plastic or melted parts mean the relay is unsafe.
- A new relay costs only a few dollars and brings peace of mind.
However, if the relay socket is damaged, you may need a mechanic to replace the wiring or socket itself.
How Much Does It Cost To Replace A Car Relay?
Replacing a relay is one of the most affordable car repairs. Here’s a quick breakdown:
| Cost Type | Price Range | Notes |
|---|---|---|
| New relay (parts only) | $5 – $25 | Depends on type and brand |
| Labor (if mechanic does it) | $20 – $50 | Most jobs take 10-20 minutes |
| Total (DIY) | $5 – $25 | Just the cost of the relay |
DIY replacement saves money and builds your confidence in basic car maintenance.
Credit: todayifoundout.com
Real-world Example: Diagnosing A Fuel Pump Relay
Let’s say your car won’t start, but the battery and starter are fine. You suspect the fuel pump relay. Here’s how you might diagnose it:
- Turn the key to “ON” (not start). Listen for a faint hum from the fuel pump.
- If silent, locate the fuel pump relay.
- Swap it with another identical relay (like the horn relay).
- Try starting the car again.
- If the car starts, replace the original relay.
This swap test is a fast, effective method used by both home mechanics and professionals.
Pro Tips For Reliable Relay Replacement
- Always keep a spare relay in your glove box, especially if you drive long distances.
- Use dielectric grease on relay pins to prevent corrosion.
- If you live in a wet climate, check relays regularly for moisture or rust.
- Test new relays before closing the relay box to save time.
- If replacing a relay doesn’t fix the issue, check the fuse and wiring next.
Credit: www.youtube.com
Frequently Asked Questions
Why Do Car Relays Fail?
Car relays fail due to wear and tear of internal contacts, overheating, exposure to moisture, or excessive electrical loads. Sometimes a faulty device or wiring issue can also damage the relay.
Can I Drive With A Bad Relay?
It depends on the system. A bad headlight relay is unsafe at night, while a starter relay can leave you stranded. For non-essential systems, you might drive short distances, but always fix relay problems soon.
How Can I Tell If A Relay Is The Problem And Not The Fuse?
Fuses are simple: if blown, they have a visible break. Relays are more complex. If the fuse is good and the system still does not work, test or swap the relay. If swapping the relay fixes the issue, the relay was the problem.
Are All Car Relays The Same?
No. Relays differ by pin layout, amp rating, size, and function. Always use the correct part number and match the specs exactly to avoid damage.
Where Can I Find A Wiring Diagram For My Car’s Relays?
Most automakers provide wiring diagrams in the owner’s manual or on their official websites. You can also check trusted sources like AutoZone’s Repair Help for free diagrams.
Taking care of your car’s relays is a smart way to ensure reliability and safety. With a little time and the right approach, you can diagnose, test, and replace relays like a pro—saving money and avoiding unexpected breakdowns.