
If your car window stops moving up or down, it can be frustrating and even unsafe. Many drivers face this issue at some point, and often the problem is the electric window motor. This small device powers the window mechanism. When it fails, your window will not move, or it may get stuck half-open. Replacing an electric window motor can feel complicated, but understanding the process makes it much easier. Whether you want to fix it yourself or just want to know what to expect at the repair shop, this guide covers everything you need to know about electric window motor replacement.
What Is An Electric Window Motor?
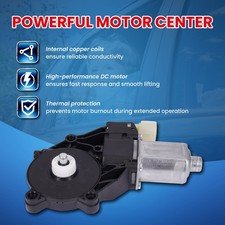
An electric window motor is a component inside your car door. It powers the window regulator, which moves the window glass up and down when you press the switch. Modern cars use electric motors for all windows, making operation smooth and simple.
Over time, the motor can wear out. Common reasons include age, moisture, dirt, or electrical problems. When the motor fails, the window will stop working, even if the rest of the system is fine.
Signs Your Window Motor Needs Replacement
It’s not always obvious when the window motor is the problem. Here are some clear signals:
- Window does not move when you press the switch
- Grinding or clicking noises from inside the door
- Window moves slowly or only partway up/down
- Window stops randomly and will not respond
- Burning smell or overheating switch
Sometimes, the problem is the window switch, fuse, or wiring, not the motor. But these signs often mean the motor is failing. If you hear the motor running but the window does not move, it might be the regulator instead.
Credit: www.stephanedeneve.com
Tools And Parts Needed For Replacement
If you plan to replace the motor yourself, gather these items first:
- Replacement window motor (matches your car’s make/model)
- Screwdrivers (Phillips and flathead)
- Socket set (usually metric sizes)
- Panel removal tool or putty knife
- Electrical tape
- Gloves
- Safety glasses
- Torx bits (for some vehicles)
- Shop light (if working in low light)
You may also need lubricant for the window tracks and a small mirror to see inside the door.
Step-by-step Guide To Electric Window Motor Replacement
Replacing a window motor is a hands-on job. Here is a detailed walkthrough:
1. Prepare Your Workspace
Park your car on a flat surface. Disconnect the negative battery cable to avoid electrical shorts. Make sure you have good lighting and enough space to open the door fully.
2. Remove The Interior Door Panel
- Locate all screws and fasteners on the door panel. These may be hidden behind covers or inside the armrest.
- Use a screwdriver or Torx bit to remove them. Keep all screws in a small container.
- Carefully pry off the door panel using a panel removal tool. Start at the bottom and work upward.
- Gently disconnect any wiring connectors for power locks, window switches, or speakers.
- Set the door panel aside.
3. Locate The Window Motor
With the panel removed, you will see a plastic or foam weather shield. Peel it back gently (do not tear it).
Locate the window motor, usually attached to the door frame by bolts and connected by an electrical plug.
4. Secure The Window Glass
If the window is stuck in the down position, hold it in place with tape or a block of wood. Some cars have holes to insert bolts or pins to lock the glass.
5. Disconnect The Old Motor
- Unplug the electrical connector from the motor.
- Remove the bolts or screws holding the motor to the door or regulator.
- Gently pull out the motor. You may need to move the regulator to access all bolts.
6. Install The New Motor
- Compare the old and new motors to ensure they match.
- Position the new motor in place and secure it with bolts.
- Reconnect the electrical plug.
- Test the motor before reassembling the door. Reconnect the battery temporarily and press the window switch. If it works, continue.
7. Reassemble The Door
- Replace the weather shield.
- Reattach the door panel, making sure all clips and connectors are back in place.
- Tighten all screws and test the window again.
8. Final Checks
Make sure the window moves smoothly. Listen for unusual noises. If everything works, you’re done. Dispose of the old motor responsibly.
Cost Of Electric Window Motor Replacement
The price can vary by car type, labor rates, and part quality. Here’s a quick comparison:
| Vehicle Type | DIY Parts Cost | Shop Labor Cost | Total (Shop) |
|---|---|---|---|
| Compact Car | $40–$80 | $100–$150 | $140–$230 |
| SUV / Truck | $60–$120 | $120–$200 | $180–$320 |
| Luxury Vehicle | $90–$250 | $200–$400 | $290–$650 |
Most repair shops offer warranties on parts and labor. Ask before you agree to the service.
Choosing The Right Replacement Motor
Not all window motors are created equal. Here’s what to watch for:
- Compatibility: Always match the motor to your car’s make, model, and year.
- OEM vs. Aftermarket: OEM (Original Equipment Manufacturer) motors are made by the carmaker. Aftermarket motors are cheaper but may not last as long.
- Warranty: A good warranty can save you money if the motor fails early.
- Quality: Check reviews and ratings. Low-quality motors often fail quickly.
- Brand reputation: Brands like Dorman, ACDelco, and Cardone have good track records.
Here’s a simple comparison:
| Type | Average Cost | Reliability | Warranty |
|---|---|---|---|
| OEM | High | Very Reliable | 1–3 Years |
| Aftermarket | Low–Medium | Varies | 6 Months–1 Year |
Credit: empire.pizza
Diy Vs. Professional Replacement
You might wonder if you should replace the motor yourself or pay a professional. Here are some points to help you decide:
Diy Replacement
- Pros: Saves money, sense of accomplishment, you choose the parts.
- Cons: Can be tricky for beginners, risk of breaking door clips or glass.
Professional Service
- Pros: Faster, less risk of mistakes, warranty on labor.
- Cons: More expensive, less control over parts used.
If you have basic tools and patience, DIY is possible. But if you are not comfortable working inside doors, hiring a pro is safer.
Common Mistakes To Avoid
Many beginners make avoidable errors. Here are two common ones:
- Forgetting to disconnect the battery. This can cause electrical shorts or injury.
- Damaging the weather shield or door clips. These protect your car from water and noise. Take care when removing panels, and replace broken clips.
Some cars have one-time-use fasteners or hidden screws. Missing them can crack the panel. Always check your car’s manual or look for online guides.
How Long Does Replacement Take?
For a first-timer, expect the job to take 2–3 hours. A professional can do it in about 1 hour. Some vehicles are easier (like older sedans), while luxury cars or trucks can be more complex.
If you run into trouble, don’t force any part. For example, if the glass seems stuck, double-check for hidden bolts or clips before pulling.
Maintenance Tips For Electric Window Motors
You can help your window motors last longer by:
- Cleaning window seals: Dirt and debris make the motor work harder.
- Lubricating tracks: Use silicone spray, not grease, to keep windows moving smoothly.
- Avoiding slamming doors: Hard impacts can damage wiring and connectors.
- Fixing slow windows early: A slow window is often a warning sign.
Many drivers wait too long, which can damage the regulator or glass. Early action saves money.
Real-world Example
Consider a 2010 Honda Civic. The driver’s window stopped working. The shop quoted $210 total: $80 for the motor, $130 for labor. The owner bought a quality aftermarket motor for $50 and did the job himself in 2.5 hours, saving $160. He used online guides and took photos during disassembly for reference.
A key tip he shared: “Label all screws and connectors as you remove them. It saves confusion when you put things back together.”
When To Replace The Regulator Too
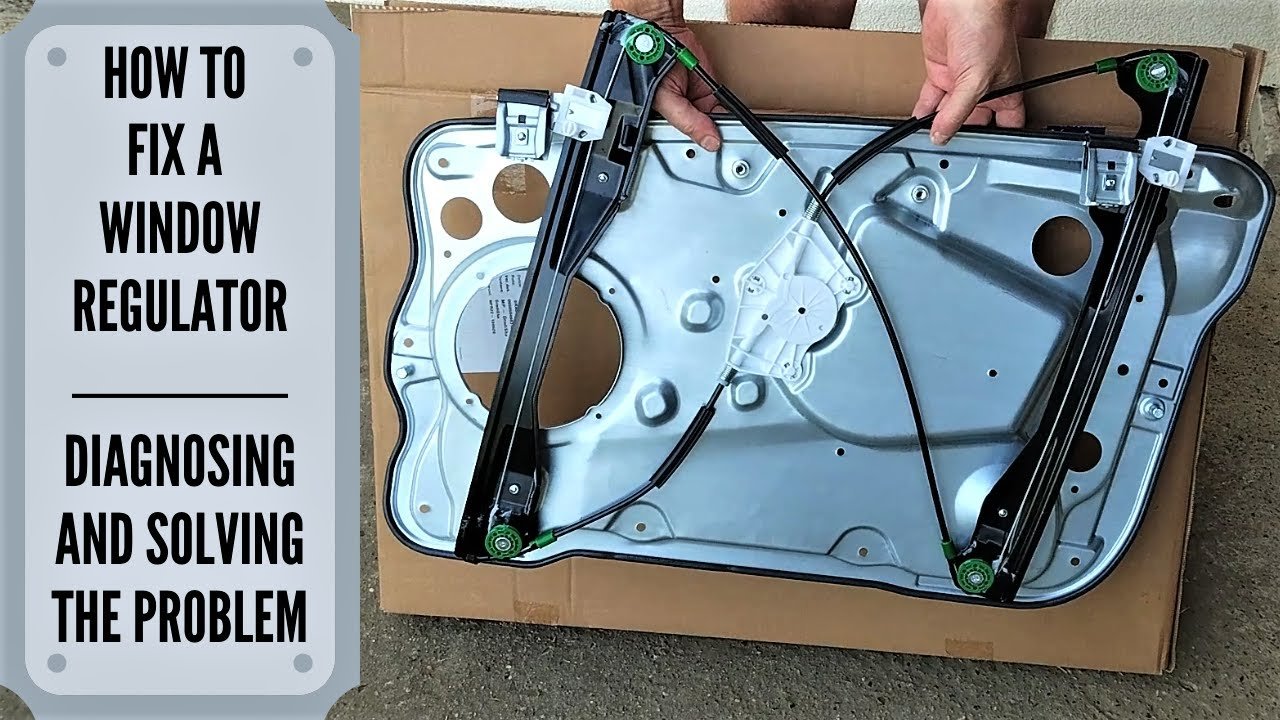
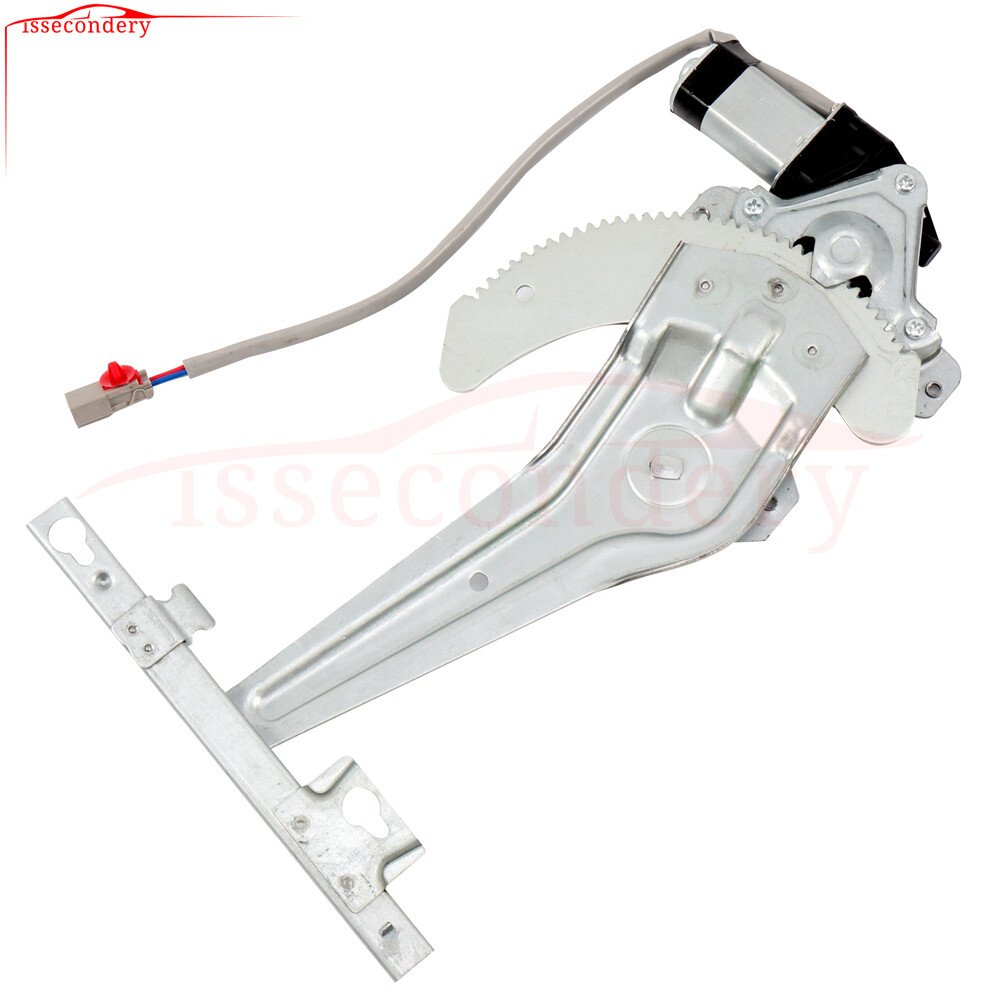
Sometimes, the window regulator (the part that moves the glass) is also worn out. Signs include:
- Window tilts or comes off track
- Crunching noises
- Motor works, but glass does not move
In these cases, replace both the regulator and motor together. Many repair kits include both parts.
Credit: lumeashop.eu
Environmental Impact
Old motors contain metals and sometimes electronic waste. Do not throw them in household trash. Most auto parts stores accept them for recycling. This protects the environment and may even earn you a small refund.
Trusted Resources
For more detailed car-specific guides and diagrams, check your vehicle’s service manual or visit trusted sites like WikiHow.
Frequently Asked Questions
How Do I Know If My Window Motor Is Bad?
If pressing the window switch does nothing, or you hear grinding or clicking inside the door, the motor is likely bad. If the motor runs but the window does not move, the regulator might be the problem instead.
Can I Just Replace The Window Switch Instead Of The Motor?
Only if the switch is the problem. Test the switch first by trying other windows or checking for power at the motor. If the motor does not get power, the switch or wiring may be at fault.
Is It Safe To Drive With A Broken Window Motor?
Yes, but it is not ideal. The window may be stuck open, which is unsafe in rain or extreme weather, and makes theft easier. Also, if the glass is loose, it could fall and break.
Do All Cars Use The Same Window Motor?
No. Motors are specific to each vehicle’s make, model, and sometimes even trim level. Always check compatibility before buying a replacement.
How Long Should A Window Motor Last?
Most window motors last 8–15 years, depending on use and climate. Heavy use or exposure to water can shorten their lifespan.
Replacing an electric window motor is a practical skill that can save you money and hassle. With careful steps and the right tools, many car owners can do this repair at home. Even if you choose a professional, understanding the process helps you make confident decisions and avoid unnecessary costs.