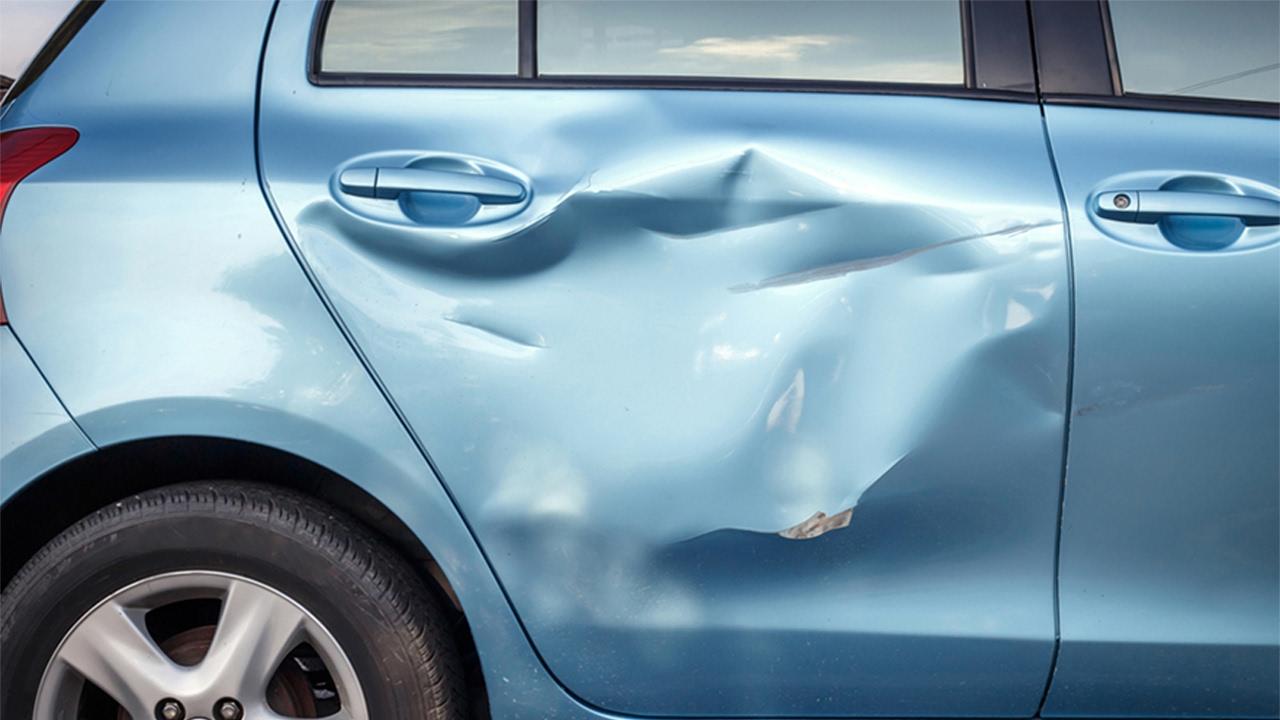
Fixing a car dent at home can feel like a big challenge, but with the right steps and tools, many small and medium dents are possible to repair by yourself. It saves you money, helps you learn about your vehicle, and gives you a sense of achievement.
Most dents come from parking accidents, hail storms, or bumps from other car doors. While deep or sharp dents often need a professional, you can fix many surface dents at home using simple methods. This guide will show you exactly how to fix a car dent at home, what tools you need, and the important details that beginners often miss.
Understanding Car Dents
Before starting, it helps to know the type of dent you have. Not all dents are the same. Some are shallow and wide, while others are deep with sharp creases. The easiest dents to fix at home are:
- Shallow, round dents
- Soft dents without paint damage
- Medium-sized dents on flat panels
Dents with broken paint, sharp edges, or near panel edges are harder to fix and might need a professional.
Essential Tools And Materials
Having the right tools makes the repair process smoother and increases your chances of success. Here’s a list of essential items for most home dent repairs:
- Plunger (cup-style, not flange-style)
- Hairdryer or heat gun
- Can of compressed air
- Boiling water
- Dry ice or CO2 spray
- Dent removal kit
- Gloves and safety glasses
- Microfiber cloth
- Body filler and sandpaper (for advanced repairs)
- Touch-up paint (if needed)
Many of these tools are affordable and easy to find in hardware stores or online.
Safety First
Always protect yourself. Wear gloves to protect your hands from hot or cold materials, and use safety glasses to keep your eyes safe from flying debris or chemicals. Make sure you work in a well-ventilated area, especially if using body filler or spray paint.
Popular Home Dent Repair Methods
Let’s look at the most effective ways to fix car dents at home. Each method works best for different dent types.
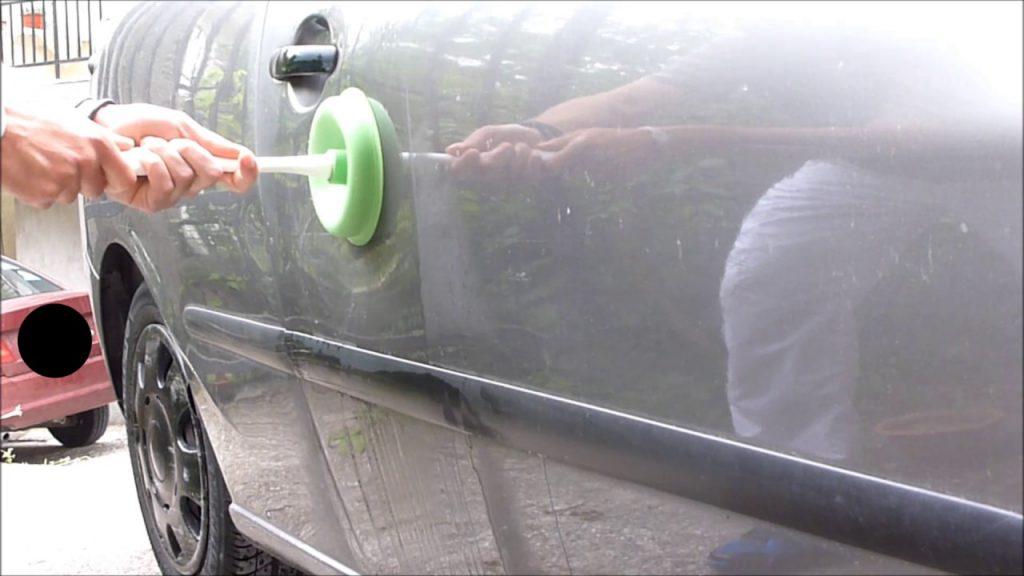
1. Using A Plunger
This simple tool works well for shallow, medium-sized dents.
- Clean the dented area with soapy water and dry it.
- Wet the plunger and the dent area for a good seal.
- Place the plunger over the dent and push and pull gently.
- Repeat several times until the dent pops out.
If the dent is near the edge of a panel or has a sharp crease, the plunger may not work.
2. The Boiling Water Method
Good for plastic bumpers, which become flexible with heat.
- Boil water and pour it over the dented area.
- Quickly reach behind the bumper (if possible) and push the dent out from the inside.
- Pour cold water to set the plastic.
This works best on plastic bumpers, not metal panels.
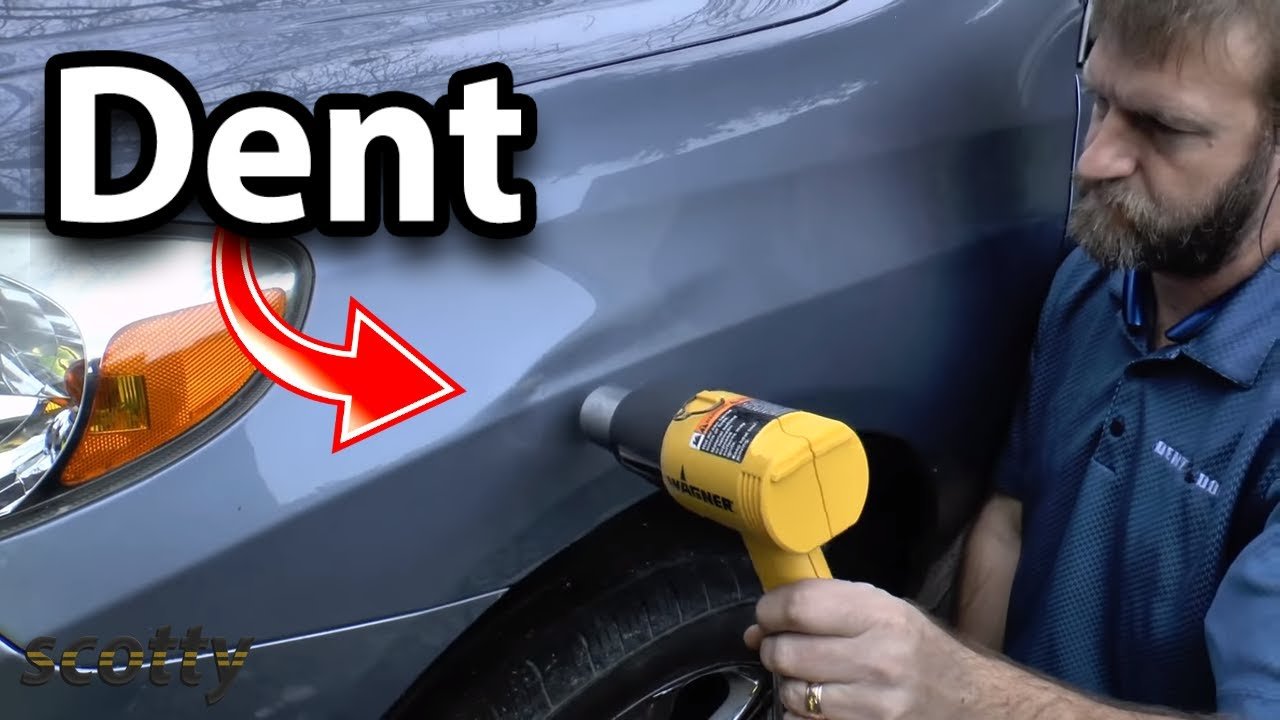
3. Hairdryer And Compressed Air
This method uses heat and cold to make the metal change shape.
- Heat the dented area with a hairdryer for 2-3 minutes. Hold it 5-7 inches away.
- Immediately spray the dent with compressed air (hold the can upside down).
- The sudden temperature change often pops the dent out.
It’s important not to overheat the paint. Move the hairdryer in circles and don’t stay in one spot.
4. Dry Ice Application
Dry ice makes the metal contract and can pull dents out.
- Wear gloves to protect your skin from frostbite.
- Place a piece of dry ice on the dent and move it around for 1 minute.
- The cold makes the metal shrink, sometimes popping the dent out.
Never touch dry ice directly with your hands.
5. Dent Removal Kits
These kits come with glue guns, puller tools, and plastic tabs.
- Clean and dry the dented area.
- Attach a glue tab to the center of the dent using the hot glue.
- Attach the puller tool to the tab and gently pull until the dent comes out.
- Remove glue residue with rubbing alcohol.
Dent puller kits work on flat panels but are less effective on curved or sharp dents.
6. Suction Cup Tools
Special suction tools work like plungers but are designed for smaller dents.
- Center the suction cup on the dent.
- Press and then pull quickly.
- Repeat if needed.
These tools are cheap and easy to use but might not work on deep dents.
7. The Hot Glue And Wooden Dowels Trick
For larger dents, you can use hot glue and small wooden dowels.
- Glue dowels in a circle around the dent.
- When the glue is dry, pull on the dowels one by one.
- Remove the glue with alcohol.
This gives you more control over how much you pull, reducing the risk of paint damage.
8. Body Filler And Sanding
For dents with chipped paint or sharp creases, you may need to use body filler.
- Sand the area around the dent to bare metal.
- Mix and apply body filler, spreading it evenly.
- After it dries, sand smooth using fine-grit sandpaper.
- Prime and paint to finish.
This method is more advanced and takes practice.
When To Avoid Diy Dent Repair
Some dents are best left to professionals:
- Deep dents with sharp creases
- Dents with paint cracks or rust
- Dents near airbags or sensors
- Dents on body lines or panel edges
Trying to fix these yourself can cause more damage and higher repair costs later.
Comparing Popular Dent Repair Methods
Here’s a quick comparison of home dent repair techniques:
| Method | Best For | Skill Level | Risk of Damage |
|---|---|---|---|
| Plunger | Shallow, medium dents | Beginner | Low |
| Boiling Water | Plastic bumpers | Beginner | Low |
| Hairdryer & Air | Small, shallow dents | Beginner | Low |
| Dent Kit | Flat surface dents | Intermediate | Medium |
| Body Filler | Sharp, paint-damaged dents | Advanced | High |
Step-by-step Example: Using A Dent Removal Kit
Let’s go deeper into the dent removal kit process, as this is one of the most popular and effective DIY methods.
- Clean the Dent Area: Remove all dirt and wax for the glue to stick well.
- Choose the Right Tab: Match the glue tab size to the dent size.
- Heat the Glue: Use the glue gun to heat the glue stick.
- Apply Glue: Put a small amount of glue on the tab and press it in the center of the dent.
- Attach Puller Tool: Once the glue sets (about 2 minutes), hook up the puller tool.
- Pull Gently: Squeeze or twist the tool to pull the dent up. Do not pull too hard; slow, even force is safer.
- Remove Tab: Use rubbing alcohol to loosen and remove the glue tab.
- Repeat if Needed: Some dents need several pulls to fully disappear.
- Finish Up: Wipe the area clean and polish if desired.
This method gives you the best control and can fix many small to medium dents.
Cost Comparison: Diy Vs Professional Repair
How much can you save by fixing dents at home? Here’s an overview:
| Repair Method | Average Cost | Time Needed |
|---|---|---|
| DIY (Plunger/Heat) | $0 – $15 | 15 – 30 min |
| Dent Removal Kit | $20 – $50 | 30 – 60 min |
| Professional (Paintless) | $100 – $300 | 1 – 2 hours |
| Professional (Body Shop) | $300 – $1,000+ | 1 – 3 days |
As you can see, DIY methods are much cheaper and often faster for small dents.
Credit: carfromjapan.com
Common Mistakes To Avoid
- Using too much force: Pulling too hard can stretch the metal or crack the paint.
- Skipping surface cleaning: Dirt or wax prevents tools from sticking, making the process harder.
- Overheating or overcooling: Extreme temperatures can damage paint or make plastic brittle.
- Ignoring paint cracks: If paint is broken, fix it quickly to prevent rust.
- Not matching the tool to the dent: Using the wrong method can make dents worse.
Non-obvious Tips For Success
Many beginners miss these details:
- Work slowly: Dents often need several gentle pulls, not one big effort.
- Check from different angles: Lighting can hide small high or low spots. Move around and look closely.
- Test methods on a small area first: Especially for heat or chemicals, try on a hidden spot to avoid surprises.
When To Stop And Call A Professional
If a dent does not move after several attempts, or if you see paint cracking or metal bending, stop and get expert help. For cars with expensive paint jobs or aluminum panels, DIY risks are higher. Some newer cars have sensors under panels, so always check your car’s manual before starting.
Environmental Impact
DIY dent repair is better for the environment because it uses fewer chemicals and less energy than body shop repairs. However, always dispose of glue, plastic, and chemicals safely. Do not pour leftover products down the drain.
Credit: carfromjapan.com
Learning More
Want to see these methods in action? There are many helpful videos and guides online. The Wikipedia page on paintless dent repair explains the science and history behind these techniques.
Frequently Asked Questions
Can I Fix All Types Of Car Dents At Home?
No, only small to medium dents without sharp creases or broken paint are good for DIY. Deep dents or those with paint damage need professional help.
Is It Safe To Use Boiling Water On All Car Parts?
No, use boiling water only on plastic bumpers. Metal parts can warp or paint can peel if exposed to boiling water.
Will A Diy Dent Repair Lower My Car’s Value?
If done well, small DIY repairs usually don’t hurt your car’s value. But visible paint damage, poor repairs, or stretched metal can reduce resale value.
What If The Dent Pops Back After Repair?
Sometimes dents return if the metal was stretched or not fully fixed. Try the process again, but if it keeps coming back, consult a professional.
Are Dent Removal Kits Reusable?
Yes, most dent removal kits are reusable. You may need to buy more glue sticks or tabs, but the main tool lasts for many uses.
Fixing a car dent at home is possible for many people. With careful work, patience, and the right tools, you can get good results and save money. Always know when to stop and call a professional if the damage is too much.
Taking your time and following the steps above will give you the best chance at a smooth, dent-free finish.
Credit: www.hadelandfhs.no
