
When you see the check engine light turn on while driving, it’s easy to feel worried. This small, glowing symbol can mean many things—from a loose gas cap to a serious engine problem. Before you rush to the mechanic, you might be able to fix the issue yourself. Many car owners don’t realize that some check engine light problems are simple and safe to solve at home, even with little mechanical experience. In this guide, you’ll learn clear steps to diagnose, understand, and possibly fix the check engine light yourself, saving money and time.
What Does The Check Engine Light Mean?
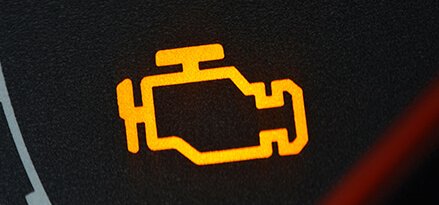
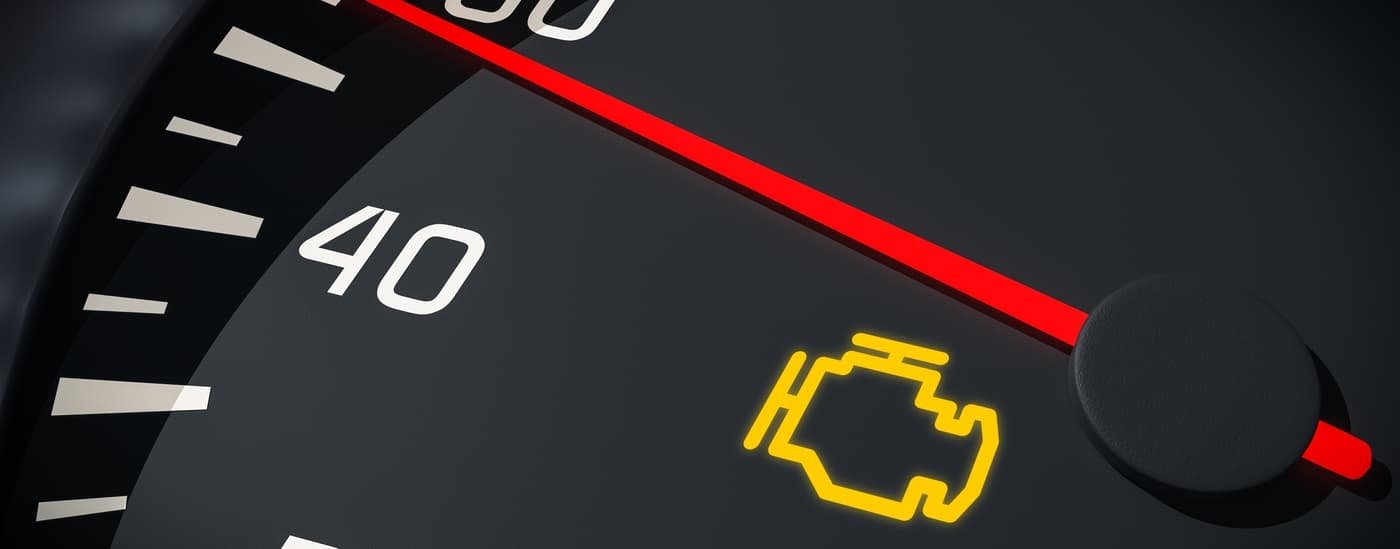
The check engine light is part of your car’s onboard diagnostics system (OBD-II). When the car’s computer detects a problem, it turns on this warning. The problem could be minor, like a faulty sensor, or something more serious, such as engine misfiring. The light usually appears as an engine-shaped icon, sometimes with the words “Check Engine” or “Service Engine Soon.”
It’s important to know: a solid light often signals a less critical issue, while a flashing light means there’s an urgent problem that could damage your car or make it unsafe to drive. If your check engine light is flashing, it’s best to stop driving and get professional help.
Common Reasons The Check Engine Light Comes On
Knowing what causes the check engine light is the first step to fixing it. Here are some frequent reasons:
- Loose or faulty gas cap
- Worn spark plugs or wires
- Malfunctioning oxygen sensor
- Bad catalytic converter
- Faulty mass airflow sensor
- Dirty or failing EGR valve
- Vacuum leak
- Dead or weak battery
- Damaged ignition coil
- Exhaust leaks
Many of these can be checked and resolved at home with simple tools and basic knowledge.
Essential Tools And Preparation
Before starting, gather these basic items:
- OBD-II scanner (can be bought online for $20–$50)
- Owner’s manual
- Gloves and flashlight
- Socket set and screwdrivers
An OBD-II scanner is the most important tool. It reads the error codes that tell you what’s wrong. Many auto parts stores will also scan your car for free.
Step 1: Use An Obd-ii Scanner
Plug the OBD-II scanner into the port under your dashboard (usually below the steering wheel). Turn your key to the “on” position but don’t start the engine. Follow the scanner’s instructions to read the codes. You’ll get a code like “P0171” or “P0455.
”
Write down the code(s) you find. These codes point to the system or part that’s causing the problem.
Interpreting Obd-ii Codes
Each code has a meaning. For example:
- P0171: System too lean (possible air leak)
- P0300: Random/multiple cylinder misfire
- P0455: Large EVAP leak (often a loose gas cap)
Use your owner’s manual or search online for the code meaning.
Step 2: Check The Gas Cap
Believe it or not, a loose or damaged gas cap is one of the most common reasons for the check engine light. If the cap isn’t tight, fuel vapors can leak, causing an error.
- Turn off the car.
- Open the fuel door and tighten the gas cap until you hear it click.
- Inspect for cracks or wear. If damaged, replace it (usually costs $10–$20).
- Restart your car. The light may turn off after a few drives if this was the issue.
Step 3: Inspect And Replace Spark Plugs
Worn or dirty spark plugs can cause misfires and trigger the light. Signs include rough idling or difficulty starting.
- Let the engine cool.
- Remove spark plug wires, then the plugs using a spark plug socket.
- Check for soot or wear. Replace if needed (they’re cheap and easy to install).
Tip: Replace all spark plugs at the same time for best results.
Step 4: Clean Or Replace The Oxygen Sensor
The oxygen sensor measures how much oxygen is in your exhaust and helps control fuel mixture. A bad sensor can lower fuel economy.
- Find the sensor (usually on the exhaust manifold).
- Disconnect the wiring and remove the sensor with a special socket.
- You can clean it with a safe cleaner, but often, replacement is better (costs $25–$100).
Insight: If your car has high mileage, oxygen sensors may fail naturally over time.
Step 5: Inspect The Mass Airflow Sensor
A dirty or faulty mass airflow sensor (MAF) can cause poor performance or stalling.
- Locate the MAF sensor near the air filter box.
- Disconnect the wiring and remove the sensor.
- Clean with special MAF sensor cleaner (never use regular cleaners).
- Reinstall and reconnect.
Credit: www.mobil.com
Step 6: Check The Battery And Connections
A weak or dead battery can cause random check engine codes.
- Inspect battery terminals for corrosion.
- Clean with a wire brush and baking soda solution.
- Test the battery voltage (should be about 12.6V when the car is off).
- Replace the battery if it’s old or won’t hold a charge.
Step 7: Look For Vacuum Leaks
Vacuum leaks are hard to spot but can cause many engine problems.
- Listen for a hissing sound under the hood when the engine is running.
- Inspect all rubber hoses for cracks or loose connections.
- Replace or tighten any damaged hoses.
Step 8: Examine The Egr Valve
The EGR (Exhaust Gas Recirculation) valve helps reduce emissions. If it’s dirty or stuck, you may get a check engine light.
- Locate the valve (check your manual).
- Remove and inspect for carbon buildup.
- Clean with EGR valve cleaner or replace if faulty.
Step 9: Test The Ignition Coil
A damaged ignition coil can cause engine misfires.
- Use your OBD-II code to identify which cylinder misfired.
- Remove and test the coil (most auto parts stores can test it).
- Replace if not working properly.
Step 10: Inspect The Catalytic Converter
A failing catalytic converter leads to poor performance and failed emissions tests.
- Signs include rattling noises, rotten egg smell, or reduced power.
- Replacement is expensive, but you can check for obvious damage.
Important: If you suspect the catalytic converter, it’s usually best to get a professional opinion.
Understanding When To Diy And When To Get Help
Not every check engine light problem should be fixed at home. If you notice:
- The light is flashing
- Loss of power or smoke from the engine
- Burning smells or loud noises
Stop driving and call for help.
Simple issues like gas caps, spark plugs, and sensors are often safe for DIY. Complex problems are better left to professionals.
Credit: www.youtube.com
Comparing Common Causes: Diy Or Mechanic?
Here’s a quick comparison for common check engine light causes:
| Problem | DIY-Friendly? | Parts Cost | Skill Needed |
|---|---|---|---|
| Loose Gas Cap | Yes | $10–$20 | Beginner |
| Spark Plugs | Yes | $15–$40 | Beginner |
| Oxygen Sensor | Yes | $25–$100 | Intermediate |
| Catalytic Converter | No | $400–$2,000 | Expert |
How Long Does It Take For The Light To Turn Off?
After fixing the problem, the check engine light may not turn off immediately. It might take several driving cycles (turning the car on and off) before the computer resets.
If you want to clear the code right away, most OBD-II scanners allow you to do this. However, if the problem is not fixed, the light will return.
Common Mistakes When Fixing The Check Engine Light
Many beginners make these errors:
- Ignoring the light: Driving too long with the light on can cause more damage.
- Clearing codes without fixing the issue: This only hides the problem for a while.
- Guessing the problem: Always read the code before taking action.
- Using the wrong parts: Always buy parts that match your car’s make and model.
- Forgetting to reconnect sensors or wires: Double-check your work before starting the engine.
Cost Comparison: Diy Vs Mechanic
Let’s see how much you can save by fixing common issues yourself:
| Repair | DIY Cost | Mechanic Cost | Potential Savings |
|---|---|---|---|
| Gas Cap | $10–$20 | $50–$100 | $30–$80 |
| Spark Plugs | $15–$40 | $100–$200 | $85–$160 |
| Oxygen Sensor | $25–$100 | $150–$300 | $125–$200 |
You can see that fixing small issues at home can save a lot of money.
Credit: www.denooyer.com
Useful Tips For Fixing The Check Engine Light
- Always record the error codes before clearing them.
- Search your car’s forum or manufacturer’s website for advice related to your code.
- If you’re unsure, start with the simplest solution (like the gas cap).
- Wear gloves and eye protection when working under the hood.
- Take photos of parts before removing them to help with reassembly.
When The Problem Returns
Sometimes, the light comes back even after fixing a problem. This can mean:
- There is another, unrelated issue.
- The replacement part is faulty or installed incorrectly.
- The car’s computer needs more time to reset.
If the light returns, scan for new codes and repeat the process. If you’re stuck, visit a trusted mechanic.
Helpful Resources
For more code definitions and technical information, the official Wikipedia OBD-II page is a great resource.
Frequently Asked Questions
What Should I Do If My Check Engine Light Is Flashing?
A flashing check engine light means a serious problem, such as a misfire that can damage the catalytic converter. Stop driving immediately and get professional help.
Can I Drive With The Check Engine Light On?
You can sometimes drive with a solid check engine light for short distances, but you should fix the issue as soon as possible. If the car drives poorly or the light flashes, stop driving.
Will Disconnecting The Battery Reset The Check Engine Light?
Disconnecting the battery may reset the light, but it won’t fix the underlying problem. The light will return if the issue is not repaired.
Is It Safe To Use An Obd-ii Scanner Myself?
Yes, OBD-II scanners are simple to use and safe. Just follow the instructions and use the correct port under your dashboard.
How Can I Prevent The Check Engine Light From Coming On?
Regular maintenance—such as replacing spark plugs, air filters, and sensors—can prevent many check engine light issues. Always use the correct fuel and parts for your car.
With patience and a little research, many check engine light problems can be fixed at home. Start with the easy checks, use your OBD-II codes as a guide, and don’t be afraid to learn. You’ll save money, gain confidence, and keep your car running smoothly.