
The check engine light can cause instant stress. One small icon on your dashboard can point to many different problems, from a loose gas cap to a bad sensor or a deeper engine issue. The hard part is not just seeing the light. The real challenge is understanding what it means and what to do next.
This Check Engine Light Diagnosis Guide will help you find the cause in a simple, practical way. You will learn how to read the warning signs, use a scan tool, check common trouble spots, and decide when a repair is easy or when you need a mechanic. The goal is to save time, avoid guesswork, and stop small problems before they become expensive ones.
Many drivers make the same mistake: they clear the light too fast or ignore it too long. Both can create more trouble. A smart diagnosis starts with basic checks, then moves step by step toward the real cause. That approach works better than random part replacement and often costs far less.
What the check engine light is telling you
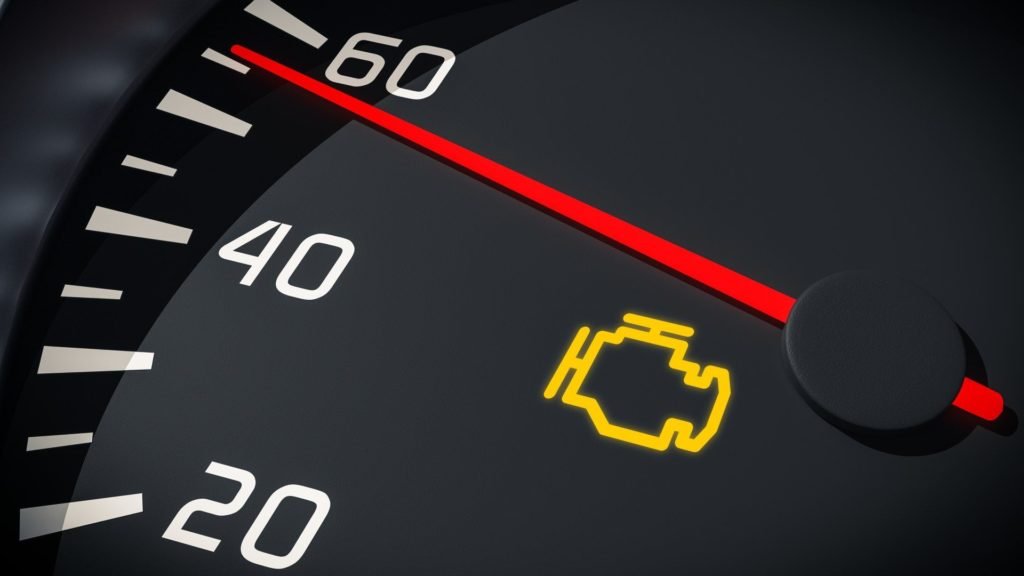
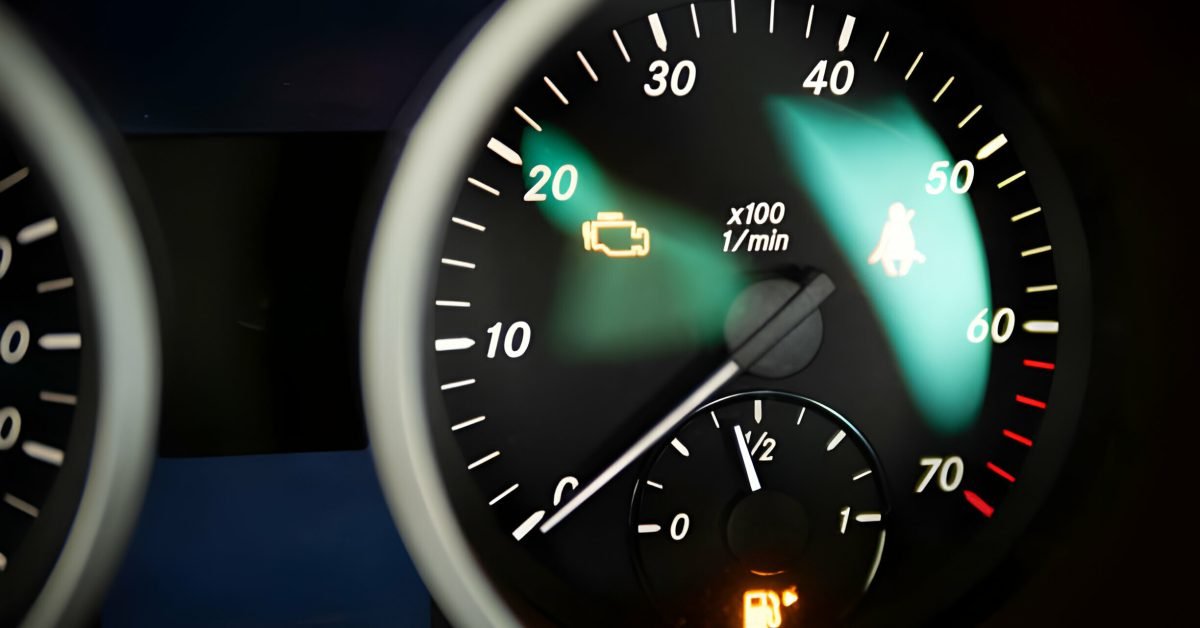
The check engine light is part of your car’s onboard diagnostics system, often called OBD-II. It turns on when the computer finds a problem that affects emissions, engine performance, or both. Some problems are minor. Others can damage the engine or catalytic converter if you keep driving.
The light can appear in two main ways:
- Solid light: The issue is usually serious, but not always urgent. You should diagnose it soon.
- Flashing light: This often means an active misfire. Stop driving if possible, because engine damage may happen quickly.
One important detail many beginners miss is that the light does not always mean the engine itself is failing. The problem may come from fuel system pressure, air leaks, ignition parts, sensors, or even the evaporative emissions system. That is why a proper Check Engine Light Diagnosis Guide starts with the code, then checks the system around it.
Common reasons the light turns on
These are some of the most frequent causes:
- Loose or damaged gas cap
- Faulty oxygen sensor
- Bad mass airflow sensor
- Worn spark plugs or ignition coils
- Vacuum leak
- Failing catalytic converter
- Evaporative emissions leak
- Engine misfire
Start with the simplest checks first
Before you use a scan tool, do a few quick inspections. This saves time and sometimes solves the issue immediately. Simple problems often create warning lights that feel bigger than they are.
Check the gas cap
A loose gas cap is one of the easiest fixes. If the cap is not tight, fuel vapors can leak out and trigger an emissions code. Remove it, inspect the seal, and tighten it until it clicks. If the seal is cracked or the cap will not tighten well, replace it.
After tightening or replacing the cap, the light may not disappear right away. The system may need a few drive cycles to retest itself.
Look for obvious damage
Open the hood and look for disconnected hoses, broken wires, oil leaks, or parts that look out of place. A loose air intake hose or broken connector can cause a warning light and rough running at the same time.
Also check for unusual sounds. A hissing noise may suggest a vacuum leak. A strong fuel smell may point to a fuel delivery or evaporative system problem. These clues help narrow down the issue before you scan the codes.
Notice how the car drives
Your car behavior gives strong clues. Ask yourself:
- Does the engine shake at idle?
- Is acceleration weak?
- Does fuel use seem higher than normal?
- Do you smell fuel, burning oil, or rotten eggs?
- Did the problem begin after refueling or after a rainstorm?
These details matter. A light with no driveability symptoms often points to an emissions or sensor issue. A light with shaking, sputtering, or power loss often points to ignition, fuel, or air problems.
Use an OBD-II scanner to read the codes
The best next step is to scan the car for diagnostic trouble codes, often called DTCs. A basic code reader is enough for many drivers. More advanced scanners can show live data, freeze frame data, and readiness monitors.
If you do not own a scanner, many auto parts stores will read the codes for free. Still, learning to scan your own car gives you more control and better long-term results.
How to read the code correctly
A code is not the full answer. It is a clue. For example, a code for oxygen sensor performance does not always mean the sensor is bad. It may mean there is an exhaust leak, a fuel mixture problem, or a wiring fault. Replacing parts without confirming the cause is a common mistake.
Here is a simple way to think about codes:
- P0300: Random misfire. Often caused by ignition, fuel, or vacuum issues.
- P0171 / P0174: System too lean. Often linked to vacuum leaks, low fuel pressure, or dirty sensors.
- P0420: Catalyst efficiency issue. May involve the catalytic converter or a sensor problem upstream.
- P0455: Large evaporative leak. Often the gas cap, hoses, or purge valve.
Another detail beginners often miss: a single code may be the result, not the cause. That is why the code must be paired with symptoms and basic checks. This is one of the most useful habits in any Check Engine Light Diagnosis Guide.
Freeze frame data can point you in the right direction
Freeze frame data shows what the engine was doing when the code set. It may include engine speed, temperature, vehicle speed, and fuel trim information. This can reveal whether the problem happened at idle, while cruising, or during hard acceleration.
For example, a lean code that appears only at idle may suggest a vacuum leak. The same code at highway speed may suggest fuel delivery trouble. That kind of detail helps you avoid guessing.
Understand the most common causes and what to check
Once you have the code, you can start testing likely causes. Below are the most common problem areas and the best first checks for each one.
Credit: griffinsautorepair.com
Ignition problems
Worn spark plugs and weak ignition coils are major causes of misfire codes. If the engine shakes, loses power, or the check engine light flashes, ignition should be high on your list.
Look for these signs:
- Hard starting
- Poor acceleration
- Rough idle
- Fuel smell from the exhaust
Misfire problems can damage the catalytic converter if left untreated. If you see a misfire code, do not wait too long.
Air leaks and vacuum leaks
Engines need the right balance of air and fuel. A vacuum leak lets in unmetered air, which can make the engine run lean. Common leak points include cracked hoses, intake boots, PCV hoses, and intake manifold gaskets.
A small leak may create a lean code and rough idle, but it can be hard to hear. A smoke test is often the best way to find it. If you do not have a smoke machine, a careful visual inspection is still worth doing first.
Fuel delivery issues
If the engine does not get enough fuel, it may hesitate, misfire, or run lean. Causes can include a weak fuel pump, clogged fuel filter, bad injectors, or low fuel pressure.
Here is a simple rule: if the car struggles more under load than at idle, fuel delivery becomes more likely. You may need a fuel pressure test to confirm it.
Sensors that report bad data
Modern engines depend on sensors such as oxygen sensors, mass airflow sensors, throttle position sensors, and crankshaft sensors. A bad sensor can send wrong data to the computer and create poor running or a warning light.
Do not replace a sensor just because its code mentions that sensor. Check wiring, connectors, air leaks, exhaust leaks, and fuel trim data first. The sensor may be reacting to another problem.
Evaporative emissions system faults
The EVAP system traps fuel vapors so they do not escape into the air. If there is a leak, the check engine light may come on even if the car drives fine. A loose gas cap, cracked hose, bad purge valve, or faulty vent valve can all trigger EVAP codes.
These problems are often not dangerous right away, but they can be frustrating because the car may seem normal. Many EVAP issues also come and go, which makes diagnosis harder.
Use live data to separate guesses from facts
If your scanner shows live data, use it. This is one of the smartest ways to diagnose a check engine light because it shows how the engine behaves in real time.
Fuel trim numbers matter more than many drivers realize
Fuel trim shows how the engine computer adjusts fuel delivery. Positive numbers mean the system is adding fuel. Negative numbers mean it is removing fuel.
Large positive fuel trim often points to:
- Vacuum leak
- Low fuel pressure
- Dirty mass airflow sensor
- Exhaust leak before the oxygen sensor
Large negative fuel trim may point to:
- Leaking injector
- Too much fuel pressure
- Faulty sensor input
This is a non-obvious but powerful clue. A code may point to one sensor, but fuel trims tell you whether the engine is truly running lean or rich.
Compare sensor behavior before and after repairs
When you make a repair, watch the live data again. If the fuel trims return close to normal and the code does not come back after several drive cycles, the repair likely worked. This is much better than simply clearing the code and hoping for the best.
When the problem is easy and when it is not
Some check engine light causes are simple. Others need special tools or deeper testing. Knowing the difference saves time and avoids expensive mistakes.
Credit: 616autorepair.com
Common easy fixes
- Tightening or replacing a gas cap
- Replacing a cracked vacuum hose
- Cleaning a dirty mass airflow sensor with the correct cleaner
- Replacing worn spark plugs on a routine schedule
- Fixing a loose connector or damaged wire
Problems that often need more testing
- Intermittent misfires
- Fuel pressure issues
- Internal engine problems
- Catalytic converter efficiency faults
- Hard-to-find EVAP leaks
A good diagnosis means testing each likely cause in order. Do not jump straight to the most expensive part. Many drivers replace oxygen sensors, catalytic converters, or fuel pumps before checking easier causes like intake leaks or wiring damage.
A practical repair path that works
Use a step-by-step process instead of guessing. This keeps the diagnosis clear and helps you avoid unnecessary repairs.
- Read the code and freeze frame data.
- Check the gas cap and visible hoses.
- Inspect wiring, connectors, and obvious leaks.
- Match the code with symptoms and driving behavior.
- Review live data if your scanner supports it.
- Test the most likely cause first.
- Repair the problem, then clear the code.
- Drive the car through a few normal trips and confirm the light stays off.
That process may seem slow, but it is usually faster than replacing parts one by one. It also gives you a better chance of fixing the real problem the first time.
One repair mistake to avoid
Do not clear the code before writing it down or saving the scan report. Once the memory is erased, you lose freeze frame data and useful clues. That information can make diagnosis much easier.
When to stop driving and get help
Some warning lights are not emergencies. Others are. If the check engine light is flashing, the engine is shaking badly, or the car has lost strong power, stop driving if it is safe to do so. A severe misfire can overheat and damage the catalytic converter very quickly.
You should also get professional help if:
- The same code returns after a repair
- You need fuel pressure, compression, or smoke testing
- The car stalls or will not start
- You see signs of electrical damage or melted wiring
If you want to learn more about the OBD-II system itself, this resource from the U.S. Environmental Protection Agency is helpful: EPA OBD information.
How to prevent the light from coming back
Prevention is often easier than repair. A few small habits can reduce future warning lights and help your car run better for longer.
- Use good-quality fuel from trusted stations.
- Replace spark plugs and filters on schedule.
- Keep the gas cap clean and tight.
- Fix small leaks early.
- Do not ignore rough idle, hesitation, or strange smells.
Also, pay attention after maintenance. A loose connector after an air filter change or battery replacement can trigger a light. New problems sometimes come from simple service work that was not finished correctly.
Common myths that lead to bad diagnosis
Many drivers believe the check engine light always means a major repair. That is not true. Some causes are cheap and easy to fix. On the other hand, some people ignore the light for weeks because the car still drives. That is risky too.
Another myth is that any scan code tells the exact bad part. It does not. A code tells you where to look, not always what to replace. This is one of the biggest lessons in a real Check Engine Light Diagnosis Guide.
Finally, some people think clearing the light solves the problem. It only erases the warning for a while. If the cause stays, the light will return and the car may be less efficient or more damaged than before.
Quick reference for common symptoms and likely causes
| Symptom | Likely Cause | First Check |
|---|---|---|
| Light on after refueling | EVAP leak or loose gas cap | Gas cap and hoses |
| Flashing light with shaking | Engine misfire | Spark plugs, coils, injector test |
| Rough idle and lean code | Vacuum leak | Intake hoses and PCV lines |
| Poor fuel economy | Sensor issue, misfire, or rich running | Fuel trims and live data |
| Code returns after clearing | Problem not fixed | Repeat diagnosis with freeze frame data |
Credit: automotiverepairloveland.com
Final thoughts
A check engine light is not something to fear, but it is something to respect. The smartest approach is simple: check the easy things first, read the code, use live data when possible, and test likely causes before buying parts. That method gives you a better chance of a clean repair and fewer repeat problems.
If you use this Check Engine Light Diagnosis Guide carefully, you will handle many warning lights with confidence. Even when the repair is beyond your tools, you will understand the problem better before visiting a mechanic. That knowledge helps you save money and avoid bad guesses.
FAQs
1. Can I drive with the check engine light on?
If the light is solid and the car drives normally, you can usually drive a short distance while you diagnose it. If the light is flashing, the engine is shaking, or power is very low, stop driving if possible and get help soon.
2. Will the check engine light turn off by itself?
Sometimes it will, if the problem was temporary and the system passes enough self-checks. But if the cause is still there, the light will usually come back. It is better to find the reason than wait for it to disappear.
3. Does a loose gas cap really turn on the check engine light?
Yes. A loose, damaged, or missing gas cap can trigger an EVAP code. It is one of the most common and easiest causes to fix. Tighten it fully and inspect the seal for cracks.
4. Why does the light come back after I clear it?
If the code returns, the problem was not fixed. Clearing the code only removes the warning for a while. The engine computer will run its tests again and turn the light back on if the fault is still present.
5. Do I need a mechanic for every check engine light?
No. Many issues are simple, such as a gas cap, hose, or spark plug problem. But if the code is unclear, the light flashes, or the car runs badly, a mechanic may need to perform deeper tests like smoke testing, fuel pressure testing, or electrical checks.