
Replacing an alternator might sound complicated, but with the right steps and some patience, it becomes a clear and manageable task. The alternator is a key part of your car’s charging system. It keeps your battery charged and powers the electrical system while the engine runs.
When the alternator fails, your car can quickly lose power. Learning how to replace an alternator can save you money, build your confidence, and even help friends and family when they need it most.
Many beginners worry about handling car repairs. That’s normal. But replacing the alternator is one of the more straightforward jobs if you follow a careful process. This guide walks you through every step, highlights common mistakes, and shares tips that even experienced drivers sometimes overlook.
What Is An Alternator And Why Does It Matter?
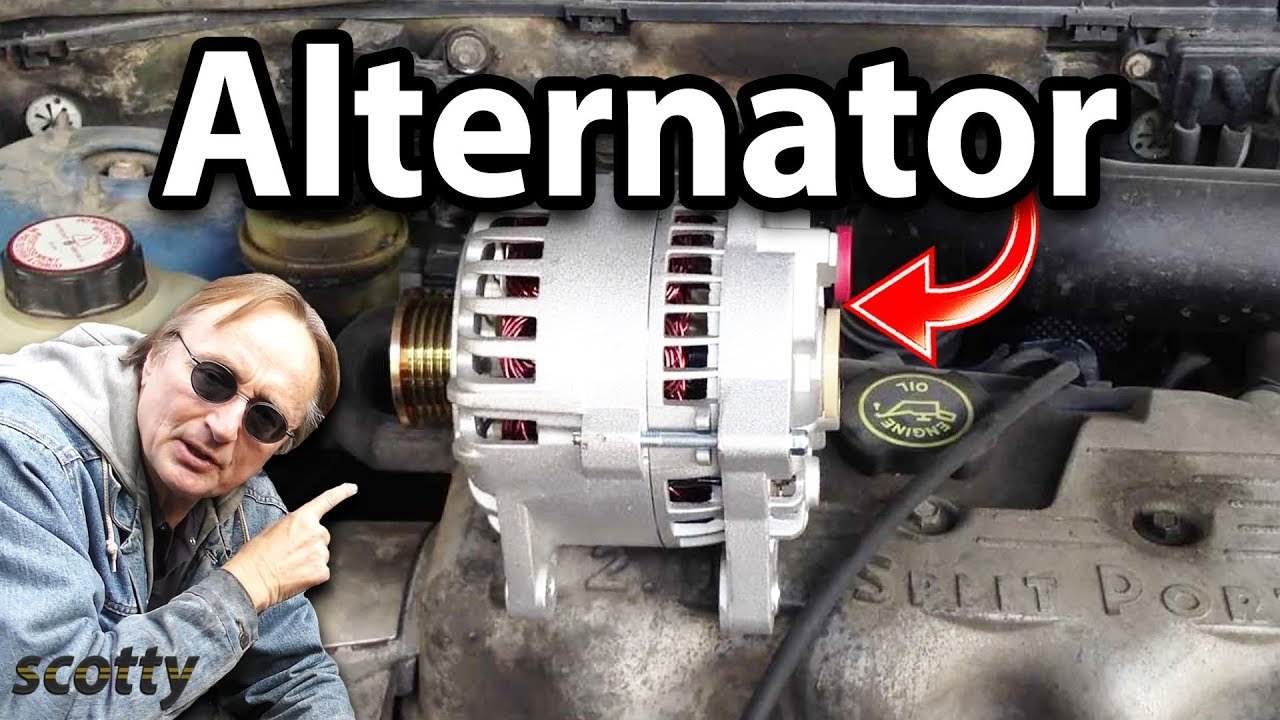
The alternator is a small generator driven by the engine belt. Its main job is to charge the battery and supply power to the car’s electrical systems, like lights, radio, and air conditioning. When the alternator fails, the battery takes over, but it can only last for a short time. If you ignore a bad alternator, you might end up stranded on the road.
Modern cars often have warning lights, like a battery symbol, to alert you. But sometimes, signs are more subtle—dim headlights, weak power windows, or trouble starting the car. If you notice these, it’s smart to test or replace the alternator before you face a breakdown.
Tools And Parts You’ll Need
Before starting, it’s important to gather all the necessary tools and parts. Having everything ready will make the process smoother and less frustrating.
- Replacement alternator (make sure it matches your vehicle)
- Socket set (metric and standard sizes)
- Wrenches (open-end, box-end, or ratcheting)
- Screwdrivers
- Pry bar (for belt tension)
- Serpentine belt tool (if required)
- Torque wrench (for precise tightening)
- Battery terminal puller (optional but helpful)
- Safety gloves and goggles
Some vehicles may need additional specialty tools, especially if the alternator is hard to reach. Always check your car’s manual or a repair database for any specific requirements.
Safety First: Preparing To Replace The Alternator
Safety is often underestimated when working on cars. Before touching anything, take these steps to protect yourself and your vehicle:
- Park your car on a flat surface and engage the parking brake.
- Turn off the ignition and remove the key.
- Disconnect the negative battery cable to prevent electrical shorts.
- Let the engine cool if it was running recently.
Never skip disconnecting the battery. Even experienced mechanics sometimes forget this, leading to sparks or even injuries.
Step-by-step Guide: Removing The Old Alternator
Every car is a bit different, but the basic process is similar for most vehicles. Follow these detailed steps:
1. Locate The Alternator
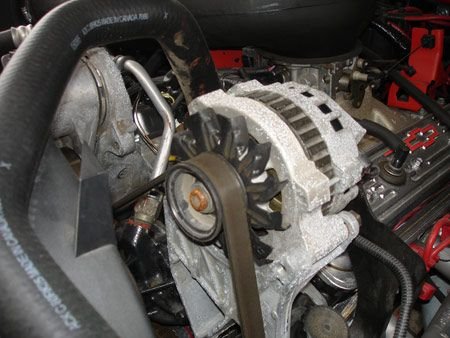
Open the hood and find the alternator. It’s usually at the front or side of the engine, connected to the serpentine belt.
2. Remove The Serpentine Belt
The serpentine belt drives the alternator. You’ll need to release tension to remove it.
- Find the belt tensioner (a small pulley with a spring).
- Use a wrench or serpentine belt tool to rotate the tensioner and relieve tension.
- Slide the belt off the alternator pulley.
Non-obvious tip: Take a clear photo of the belt routing before removing it. Belt paths can be confusing, especially if you’re new to car repairs.
3. Disconnect Electrical Connections
Alternators have one or more electrical connectors and sometimes a main power wire with a nut.
- Unplug the connectors carefully, pressing release tabs if present.
- Use a wrench to remove any nuts holding power cables.
- Keep track of all hardware for reinstallation.
4. Remove Mounting Bolts
Alternators are held by two or more bolts. These may be different lengths.
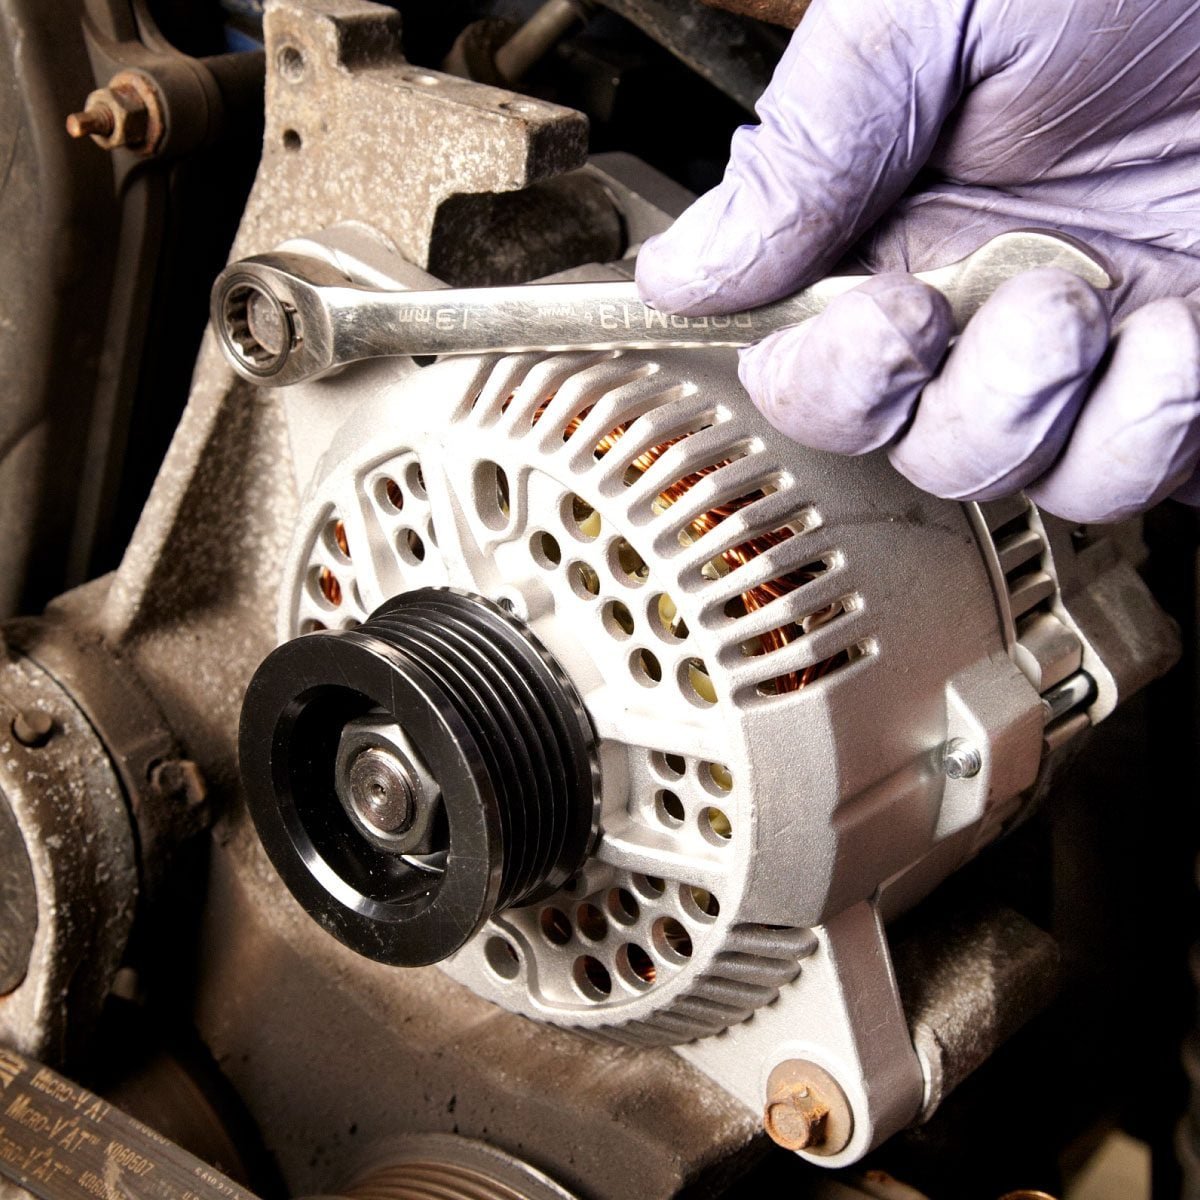
- Use a socket or wrench to remove the bolts.
- Support the alternator with your hand so it doesn’t fall.
Some cars place the alternator in a tight spot. If needed, remove nearby components for better access, but avoid disconnecting fuel lines or major engine parts unless necessary.
5. Remove The Alternator
Once unbolted, gently work the alternator out of its bracket. You may need to wiggle or tilt it to clear hoses or wiring. In rare cases, lowering the alternator through the wheel well is easier—check your manual for the best method.
Credit: www.instructables.com
Inspecting The Old Alternator And Related Parts
Before installing the new unit, take a moment to inspect the removed alternator and surrounding parts.
- Check for burnt smells or damaged windings—these confirm failure.
- Look at the pulley. If it’s loose or noisy, the alternator likely had bearing failure.
- Inspect the serpentine belt for cracks, glazing, or fraying. Replace it if it’s worn.
- Check connectors and wires for corrosion or damage. Clean or repair as needed.
Replacing a worn belt now can prevent future problems. Many drivers forget this step and end up repeating the repair soon after.
Installing The New Alternator
Now that your workspace is clear, it’s time to fit the new part.
1. Compare The Old And New Alternators
Before installation, place the old and new alternators side by side.
- Confirm mounting holes and electrical connectors match.
- Check pulley size and alignment.
If you spot differences, double-check with your auto parts store before proceeding.
2. Install The New Alternator
- Position the alternator in its bracket.
- Hand-tighten the mounting bolts first to align it.
- Torque the bolts to manufacturer specifications.
Proper torque is important—over-tightening can damage the bracket; too loose can cause vibration.
3. Reconnect Electrical Connections
- Attach power wires and connectors as you noted during removal.
- Make sure all connections are tight and secure.
Loose connections can cause electrical problems or even damage the new alternator.
4. Reinstall The Serpentine Belt
- Route the belt using your photo or the diagram under your car’s hood.
- Use the tensioner to slip the belt back onto the alternator pulley.
- Double-check that the belt sits properly on every pulley.
5. Reconnect The Negative Battery Cable
With everything tight and in place, reconnect the negative battery cable. This restores power to the vehicle.
Credit: www.familyhandyman.com
Testing The New Alternator
After reassembly, it’s important to confirm everything works as expected.
- Start the engine and listen for any unusual noises.
- Watch the dashboard for warning lights.
- Use a voltmeter to check battery voltage with the engine running. A healthy alternator should produce 13.5-14.5 volts.
- Test headlights, radio, and other electrical features.
If you see warning lights or hear new noises, double-check your work. Sometimes, a belt may not be seated correctly, or a connector may be loose.
Common Mistakes To Avoid
Many first-timers make small but costly errors. Here’s what to watch out for:
- Not disconnecting the battery: This can cause sparks or short circuits.
- Mixing up bolts: Alternator bolts may be different lengths. Keep them organized.
- Forgetting belt routing: Always take a photo before removal.
- Skipping belt inspection: A worn belt can slip or break soon after.
- Ignoring torque specs: Guessing torque can damage parts or cause loose bolts.
Paying attention to these details prevents frustration and repeat repairs.
Credit: www.youtube.com
Cost, Time, And Difficulty
Replacing an alternator is a mid-level DIY job. Here’s how it usually breaks down:
| Factor | Typical Value | Comments |
|---|---|---|
| Replacement Time | 1–2 hours | Varies by vehicle |
| Part Cost | $100–$400 | Depends on car model & quality |
| Difficulty | Moderate | Access can be tricky on some cars |
Some vehicles (like certain luxury or compact cars) may require additional disassembly, raising both time and difficulty.
When To Call A Professional
Most alternator replacements are DIY-friendly, but some situations are better left to a mechanic:
- The alternator is deeply buried, requiring major disassembly.
- Special tools are needed that you don’t have.
- You’re not comfortable working around the car’s electrical system.
If you’re unsure, it’s okay to ask for help. Getting stuck halfway can cost more time and money.
Comparing New Vs. Remanufactured Alternators
When buying a replacement, you’ll see both new and remanufactured options. Here’s how they compare:
| Type | Pros | Cons |
|---|---|---|
| New | Full warranty, reliable, latest design | More expensive |
| Remanufactured | Lower cost, eco-friendly | Possible shorter life, quality varies |
If your budget allows, a new alternator offers the best peace of mind. Remanufactured units can be a good value if bought from a trusted supplier.
Troubleshooting After Replacement
Sometimes, problems happen even with a new alternator:
- Noise: Squealing or grinding may mean the belt is too tight/loose or the pulley is misaligned.
- Battery light remains on: Double-check all connections and ensure the belt is installed properly.
- Electrical issues: Make sure you didn’t accidentally disconnect another wire during the process.
If issues persist, check online forums or seek advice from a professional.
Additional Tips For Beginners
- Label bolts and connectors with masking tape if you worry about forgetting.
- Use your phone to record each step as you go. This is helpful for reassembly.
- Always double-check fitment before buying an alternator using your car’s VIN or part number.
- Save your old alternator—most parts stores require it as a core for a refund.
Environmental Note: Recycling The Old Alternator
Alternators contain valuable metals and can often be rebuilt. Return your old unit to the auto parts store or a recycling center. This reduces waste and helps the environment.
Useful Resources
For diagrams, wiring info, or further reading, visit Haynes Manuals, a trusted source for vehicle repair guides.
Frequently Asked Questions
How Do I Know My Alternator Is Bad?
Common signs include dim headlights, warning lights on the dashboard, a dead battery even after charging, or electrical accessories not working properly. Testing with a voltmeter can confirm if the alternator is charging the battery.
Can I Drive With A Bad Alternator?
It’s not safe. The battery will provide power for a short time, but the car will eventually stall. You risk being stranded and causing further battery damage.
Do I Need To Replace The Battery After An Alternator Failure?
Not always. If the battery is still in good condition, you can keep using it. But if it’s old or was deeply drained, it may not hold a charge well and could need replacement.
Are All Alternators The Same?
No. Alternators differ by size, output, mounting style, and electrical connections. Always buy one that matches your vehicle’s make, model, and year.
Can I Replace An Alternator Myself With No Experience?
Yes, if you’re careful and follow instructions. Many beginners successfully replace alternators. Take your time, label parts, and don’t rush. If you’re unsure, ask for help or consult a repair manual.
Replacing an alternator is a valuable skill that saves money and builds confidence. With patience and attention to detail, you can handle this repair and keep your car running smoothly for years to come.