
If your car starts feeling sluggish or struggles to start, a clogged fuel filter could be the problem. Many car owners overlook this small but vital part. The fuel filter keeps dirt and debris out of your engine, protecting it from damage. Changing it on time can improve performance, save fuel, and avoid costly repairs. Even if you are new to car maintenance, you can learn to replace your own fuel filter with the right instructions. This guide will walk you through everything you need to know, from tools and preparation to detailed steps and helpful tips.
Why The Fuel Filter Matters
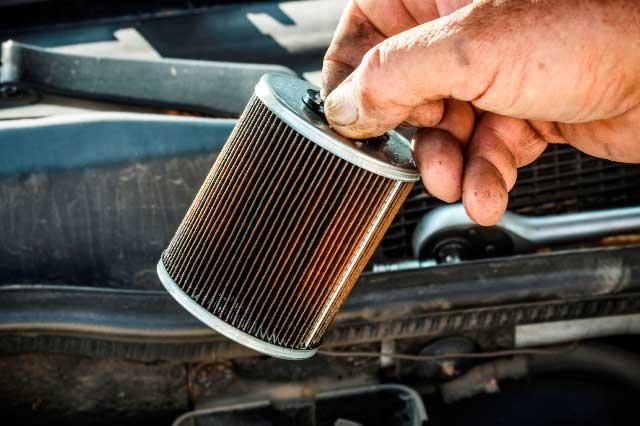
The fuel filter acts like a shield between your fuel tank and engine. Gasoline can carry small particles, rust, and dirt. The filter catches these before they reach the engine. Over time, the filter fills up and blocks the flow of fuel. This causes rough idling, slow acceleration, and sometimes engine stalling. Neglecting it can damage your fuel pump and injectors, leading to expensive repairs.
Many manufacturers recommend changing the fuel filter every 20,000–40,000 miles. However, the actual interval depends on your car model, driving conditions, and fuel quality.
Tools And Parts You Will Need
Gathering the right tools before you begin makes the process smoother and safer. Here’s what you should have:
- New fuel filter: Make sure it matches your car’s make, model, and year.
- Safety glasses and gloves: Protects your eyes and hands from fuel.
- Wrenches: Usually open-end or line wrenches, depending on your car.
- Screwdrivers: Flathead or Phillips, for removing hose clamps.
- Rags and a small container: To catch and clean up spilled fuel.
- Jack and jack stands: Only if the filter is located under the car.
- Penetrating oil: For loosening rusty fittings.
- Fuel line disconnect tool: Some cars require a special tool.
Check your owner’s manual or a repair guide for your car to confirm the tools you need.
Locating The Fuel Filter
Where the fuel filter sits depends on your car’s design. Here are the most common locations:
- Along the frame rail (under the car, near the gas tank)
- In the engine bay (usually near the firewall)
- Inside the fuel tank (often part of the fuel pump assembly)
For most older cars, the filter is outside the tank and easy to reach. Many newer models have the filter inside the tank—these are harder to access and may require professional service.
Example Placement Table
| Car Make | Model Year | Filter Location |
|---|---|---|
| Toyota Corolla | 1998 | Engine Bay |
| Honda Accord | 2005 | Frame Rail |
| Ford F-150 | 2012 | Inside Fuel Tank |
Step-by-step Guide To Replacing A Fuel Filter
Replacing a fuel filter is usually a straightforward job, but it’s important to follow each step carefully. Small mistakes can lead to fuel leaks or engine problems.
1. Relieve Fuel System Pressure
Before you disconnect the filter, you must reduce the pressure in the fuel lines. Otherwise, fuel can spray out and cause injury.
- Remove the fuel pump fuse or relay from the fuse box.
- Start the engine. It will run for a few seconds, then stall.
- Turn the ignition off.
This step is often missed by beginners, but it is crucial for safety.
2. Disconnect The Battery
Always disconnect the negative terminal of your car battery. This prevents accidental sparks when working with fuel.
3. Raise The Vehicle (if Needed)
If your filter is under the car, use a jack and place the car securely on jack stands. Never work under a car supported only by a jack.
4. Find And Access The Fuel Filter
Locate the filter using your manual. Clear away any dirt around the filter to prevent contamination.
- Use penetrating oil on rusty or tight fittings.
- Have a rag and a small container ready to catch any fuel that leaks out.
5. Remove The Old Fuel Filter
- Loosen the clamps or fittings holding the filter.
- Some cars use threaded fittings, while others use quick-connect clips.
- Carefully pull the fuel lines off the filter. Some fuel will spill—catch it in your container.
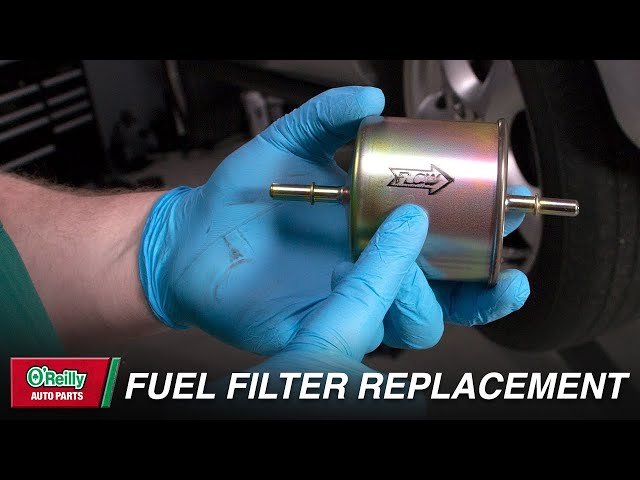
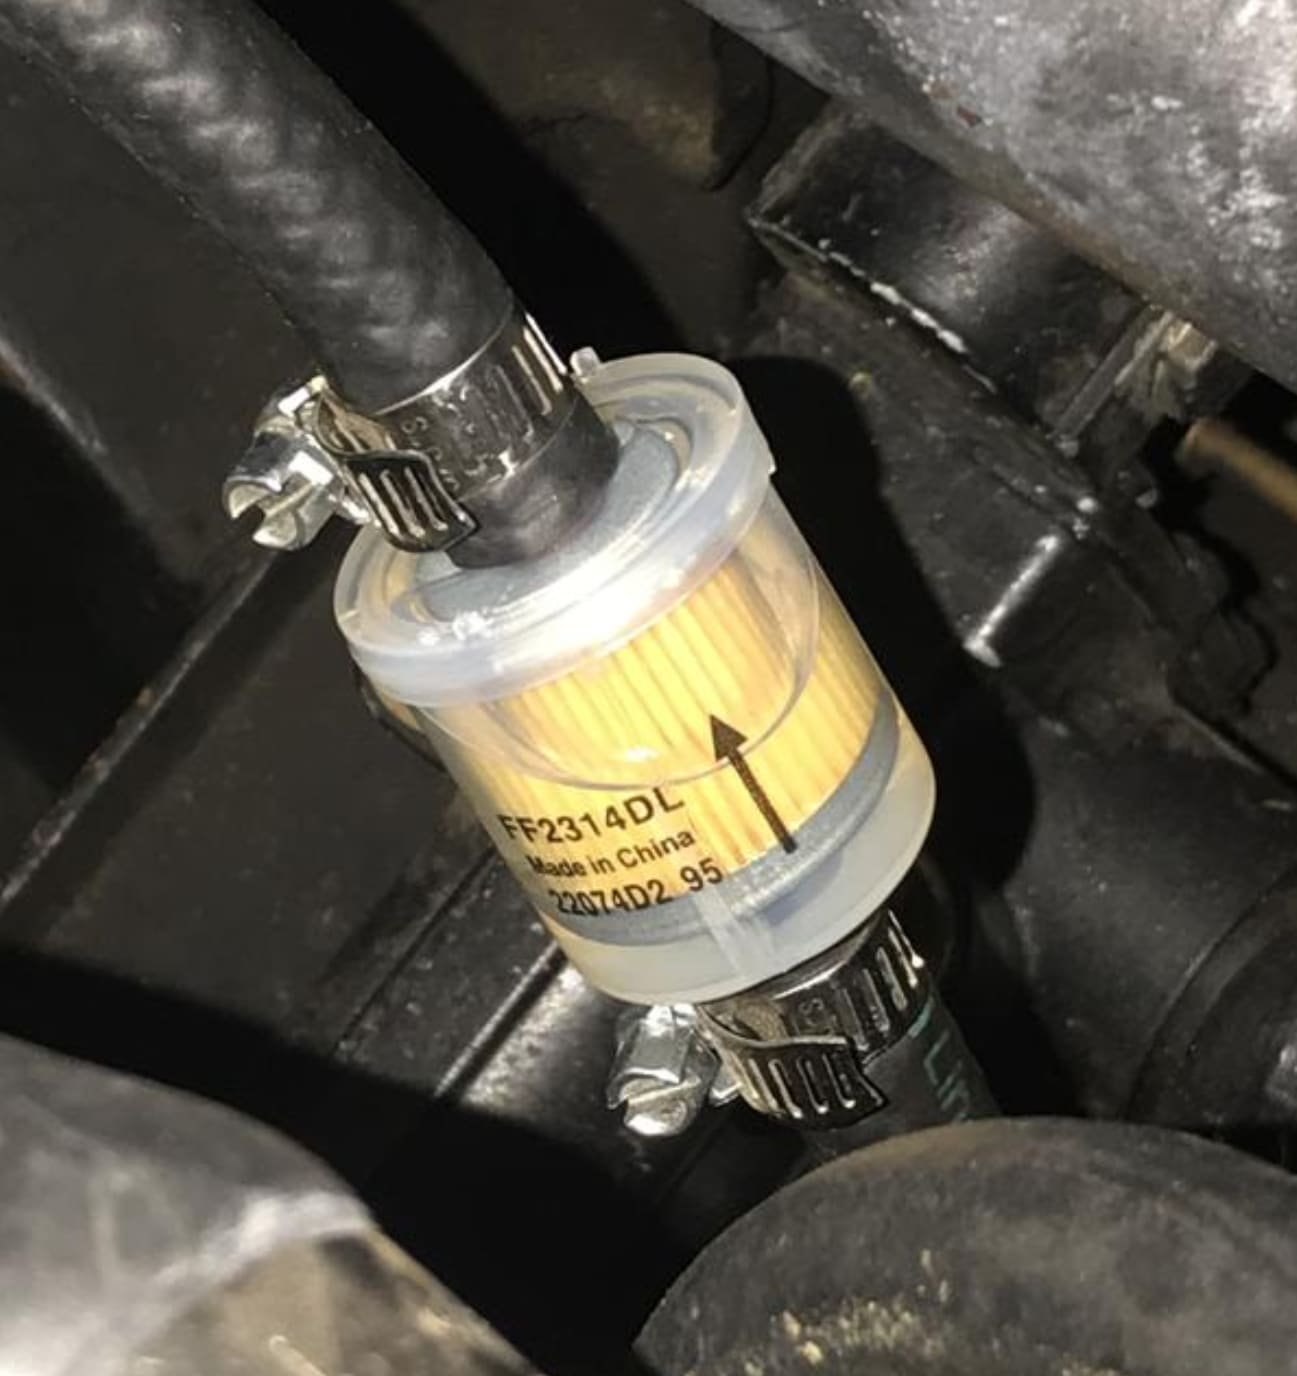
Tip: Take note of the direction of the filter. Most filters have an arrow showing the direction of fuel flow.
6. Install The New Fuel Filter
- Check that the new filter matches the old one in size and connection type.
- Install it in the correct direction (arrow pointing toward the engine).
- Reattach the fuel lines and secure the clamps or fittings tightly.
Non-obvious Insight: New filters often come with small rubber washers or O-rings. Replace the old ones to prevent leaks.
7. Double-check Everything
Make sure all connections are tight, and nothing is left loose. Wipe up any spilled fuel.
8. Lower The Car And Reconnect The Battery
If you raised the car, remove the jack stands and lower it carefully. Reconnect the negative battery cable.
9. Prime The Fuel System
Turn the ignition key to the “On” position (without starting) for a few seconds. This lets the fuel pump pressurize the system. Repeat this step twice, then start the engine and check for leaks.
Common Mistakes To Avoid
Many people make simple mistakes when replacing a fuel filter. Here are some to watch for:
- Forgetting to relieve pressure: This can cause dangerous fuel spray.
- Installing the filter backward: The arrow must point toward the engine.
- Not replacing old O-rings: Can lead to leaks and air in the system.
- Working near open flames or sparks: Always work in a well-ventilated area, away from ignition sources.
Signs Your Fuel Filter Needs Replacing
Knowing when to change your fuel filter helps avoid breakdowns. Watch for these warning signs:
- Engine misfires or stalling
- Hard starting
- Loss of power, especially under load
- Poor fuel economy
- Check engine light comes on
If you notice any of these, check your filter and consider replacing it.
How Often Should You Replace The Fuel Filter?
The typical interval is every 20,000–40,000 miles, but this varies. Some modern cars have “lifetime” filters, but even these can clog under poor fuel quality or high mileage.
Extreme conditions—like dusty roads or frequent short trips—may require more frequent changes. Always check your owner’s manual for the recommended interval.
Fuel Filter Replacement Intervals (by Car Type)
| Car Type | Interval (Miles) | Special Note |
|---|---|---|
| Older Cars (pre-2000) | 20,000–30,000 | External filter, easy access |
| Modern Cars | 40,000–60,000 | Some inside tank, harder to change |
| Diesel Engines | 10,000–20,000 | More sensitive to clogging |
Safety Tips
Working with fuel is dangerous if you are not careful. Always:
- Wear safety glasses and gloves
- Work in a well-ventilated area
- Keep a fire extinguisher nearby
- Avoid open flames, smoking, or sparks
- Clean up all fuel spills immediately
Credit: www.goldeagle.com
Cost Of Replacing A Fuel Filter
Changing your own filter can save money. Here is a cost comparison:
| Method | Estimated Cost (USD) | Includes |
|---|---|---|
| DIY Replacement | $15–$50 | Parts only |
| Professional Service | $70–$200 | Parts and labor |
Non-obvious Insight: Some shops charge extra for labor if the filter is hard to reach (for example, inside the fuel tank).
Troubleshooting After Replacement
If your car runs poorly after changing the fuel filter, here’s what to check:
- Leaks at the connections: Tighten fittings or replace worn seals.
- Hard starting: Prime the system by turning the key to “On” a few times before starting.
- Check engine light: Scan for error codes—sometimes a loose sensor or connector is the cause.
If problems continue, consult a mechanic. Sometimes, other parts of the fuel system may need attention.
Credit: www.youtube.com
Benefits Of Regular Fuel Filter Replacement
Changing the filter on schedule brings several advantages:
- Better engine performance: Smooth acceleration and idle.
- Longer fuel pump life: Pump doesn’t have to work as hard.
- Lower repair costs: Prevents damage to expensive parts.
- Improved fuel economy: Clean fuel helps the engine run efficiently.
When To Get Professional Help
If your filter is inside the fuel tank, or if you feel unsure, it is best to let a professional handle the job. Modern cars often have complex systems that need special tools and experience.
For most external filters, though, a careful DIYer can do the job and gain confidence in car maintenance.
Additional Resources
If you want to read more about fuel filters, maintenance schedules, and car care, visit the Wikipedia Fuel Filter page for detailed technical information.
Frequently Asked Questions
What Happens If I Don’t Change My Fuel Filter?
A clogged filter can cause engine misfires, loss of power, and even damage your fuel pump or injectors. Ignoring it makes your car less reliable and can lead to expensive repairs.
How Do I Know Which Fuel Filter To Buy?
Check your owner’s manual or ask for your car’s make, model, and year at an auto parts store. Using the wrong filter can cause leaks or poor performance.
Is It Safe To Change The Fuel Filter Myself?
Yes, if you follow safety steps: relieve fuel pressure, disconnect the battery, and work in a ventilated area. Wear gloves and safety glasses.
Can A Clogged Fuel Filter Cause The Check Engine Light To Come On?
Yes, a clogged filter can trigger the check engine light, especially if it causes low fuel pressure or engine misfires.
How Long Does It Take To Change A Fuel Filter?
For most cars, 30–60 minutes is enough. Filters inside the tank take longer and often need professional service.
Taking care of your fuel filter is one of the best ways to keep your car running smoothly. With these steps and tips, you can handle this job with confidence and enjoy better performance on the road.
Credit: www.autozone.com