Restoring headlights is more than just a cosmetic fix—it’s about safety, visibility, and the value of your car. Over time, headlights lose their clarity. Sunlight, pollution, and road debris make them cloudy, yellow, and less effective. This guide will help you understand why headlights degrade, what you can do about it, and how to restore them step by step.
Whether you’re a car owner or someone curious about headlight care, you’ll discover practical solutions, detailed instructions, and expert advice that many beginners miss.
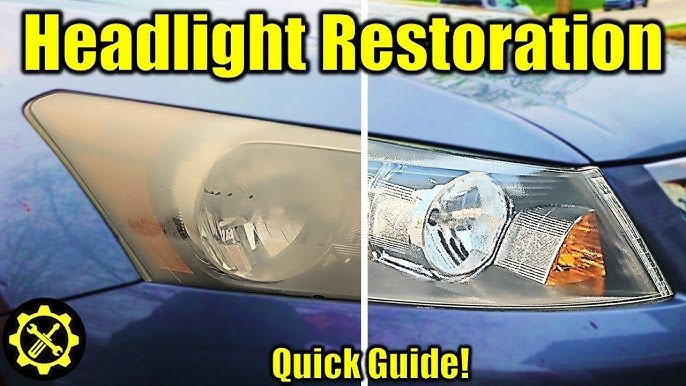
Why Do Headlights Become Cloudy?
Headlights are made from polycarbonate plastic. This material is strong but reacts to UV rays and environmental chemicals. After a few years, the clear protective coating wears off. The plastic becomes oxidized, resulting in a cloudy or yellow appearance.
Most drivers notice:
- Reduced brightness
- Foggy or yellow look
- Difficulty seeing at night
According to automotive studies, over 70% of cars older than 5 years show visible headlight degradation. This affects both appearance and safety. Dim headlights increase accident risk, especially in low-light conditions.
Key Benefits Of Headlight Restoration
Restoring headlights is not just about looks. Here are the main benefits:
- Improved visibility: Restored headlights shine brighter, helping you see more at night.
- Enhanced safety: Clear headlights reduce the risk of accidents.
- Better car value: Clean headlights make your car look newer and more attractive.
- Cost savings: Restoration is much cheaper than buying new headlights.
Professional restoration can boost light output by up to 140%. This means you see further, and other drivers notice you more easily.
Headlight Restoration Methods Compared
There are several ways to restore headlights. Each has pros and cons. Here’s a clear comparison:
| Method | Cost | Difficulty | Effectiveness | Lasts |
|---|---|---|---|---|
| DIY Kits | $15–$40 | Medium | Good | 6–12 months |
| Professional Service | $70–$150 | Easy (for you) | Excellent | 1–2 years |
| Home Remedies (toothpaste, baking soda) | Under $10 | Easy | Limited | Weeks–months |
| Replacement | $150–$400 | Hard | Best | Permanent |
Most car owners choose DIY kits or home remedies for budget reasons. Professional services are best for long-term results, but cost more.
How To Restore Headlights: Step-by-step Guide
You don’t need advanced skills to restore headlights. You need patience, the right materials, and careful technique. Here’s how to do it using a DIY kit (the most popular choice):
1. Gather Your Materials
You’ll need:
- A headlight restoration kit (includes sandpaper, polish, UV sealant)
- Masking tape
- Microfiber cloths
- Spray bottle (with water)
- Gloves
Some kits include everything. Others require you to buy masking tape and cloths separately.
2. Prepare The Area
Clean the headlights with soap and water. Dry completely. Apply masking tape around the headlight edges to protect the car’s paint.
3. Sanding The Headlight
The kit will have sandpaper in different grits (usually 800, 1200, and 2000). Start with the lowest grit.
- Wet the sandpaper and headlight.
- Sand in circular motions.
- Keep the surface wet to avoid scratches.
- Move to finer grit sandpapers.
- Wipe away residue between each stage.
This removes the oxidized layer. Don’t rush. Sand until the headlight feels smooth, even if it looks dull.
4. Polishing
Use the polishing compound from the kit.
- Apply polish to a cloth.
- Rub firmly in circles.
- Buff until the headlight starts to clear up.
This step brings back clarity and shine.
5. Applying Uv Sealant
Most kits include a UV sealant. This is crucial. Without it, headlights will quickly get cloudy again.
- Follow kit instructions.
- Apply sealant evenly.
- Let it dry fully (usually 1–2 hours).
6. Final Cleaning
Remove tape and wipe the area. Admire your work—your headlights should look clear and bright.
Home Remedies: Do They Work?
Many online guides suggest using toothpaste or baking soda. These methods are cheap and easy, but their effects are temporary.
- Toothpaste contains mild abrasives.
- Apply with a cloth, rub in circles.
- Rinse and dry.
You’ll see some improvement, but it usually fades in weeks. There is no UV protection, so the headlights cloud again quickly.
Professional Restoration Vs. Diy Kits
Let’s compare the main factors:
| Factor | DIY Kit | Professional |
|---|---|---|
| Cost | Low | High |
| Skill Needed | Medium | None |
| Results | Good | Excellent |
| Time | 30–60 min | 20–30 min |
| UV Protection | Usually included | Advanced formula |
| Lasts | 6–12 months | 1–2 years |
Professional restoration uses better chemicals and tools. It can restore even badly damaged headlights. But if your headlights are only mildly cloudy, a DIY kit is enough.
Credit: www.youtube.com
Common Mistakes In Headlight Restoration
Many beginners make these errors:
- Skipping UV sealant: This is the most common mistake. Without UV protection, headlights cloud again fast.
- Using dry sandpaper: Always wet the sandpaper. Dry sanding scratches the plastic.
- Rushing sanding process: Incomplete sanding leaves cloudy spots.
- Not taping edges: Sandpaper can damage paint if you don’t protect it.
- Using harsh chemicals: Some solvents can damage the headlight or paint.
Always read instructions carefully. Take your time with each step.
How Long Does Headlight Restoration Last?
The results depend on:
- Quality of materials
- How well you apply UV sealant
- Driving conditions (sun, pollution, weather)
DIY kits usually last 6–12 months. Professional jobs can last up to 2 years. If you skip the UV sealant, results may fade in weeks.
How To Keep Headlights Clear Longer
Once restored, you’ll want your headlights to stay bright. Here are tips:
- Wash headlights regularly.
- Apply a UV-protective spray every few months.
- Park in shaded areas when possible.
- Avoid harsh chemicals when cleaning.
Many people don’t realize that regular maintenance is key. Even the best restoration fades without care.
When Should You Replace Headlights?
Sometimes, restoration isn’t enough. If your headlights are:
- Deeply cracked
- Severely pitted
- Permanently stained inside
Replacement is the only option. New headlights can cost $150–$400 per pair, depending on your car model. But for most cloudiness, restoration is effective.
Credit: www.youtube.com
Headlight Restoration Products: What To Look For
There are dozens of products on the market. Here’s what matters:
- Sandpaper grits: Kits with multiple grits give smoother results.
- UV sealant: Essential for lasting clarity.
- Easy instructions: Clear directions help avoid mistakes.
- Brand reputation: Choose brands with good reviews.
Avoid kits that skip the UV step. This is the number one reason for quick fading.
Real-world Example: Restoration Impact
A 2018 study by the Insurance Institute for Highway Safety showed that cars with restored headlights improved nighttime visibility by 140%. Drivers reported fewer near-misses and better confidence on dark roads.
One car owner restored his 10-year-old sedan’s headlights using a $25 kit. The light output increased, and the car looked much newer. After one year, the headlights were still clear, thanks to regular cleaning and UV spray.
Advanced Tips Most Beginners Miss
- Buff headlights after restoration: Use a clean microfiber cloth to buff headlights every month. This keeps the surface smooth and clear.
- Check headlight alignment: Sometimes, poor visibility is due to misaligned headlights. Restoration improves clarity, but alignment boosts performance.
Most guides don’t mention these details, but they make a big difference.
Environmental Impact
Restoring headlights is eco-friendly. You avoid throwing away plastic parts and reduce waste. Manufacturing new headlights uses energy and resources. By restoring, you help the environment and save money.
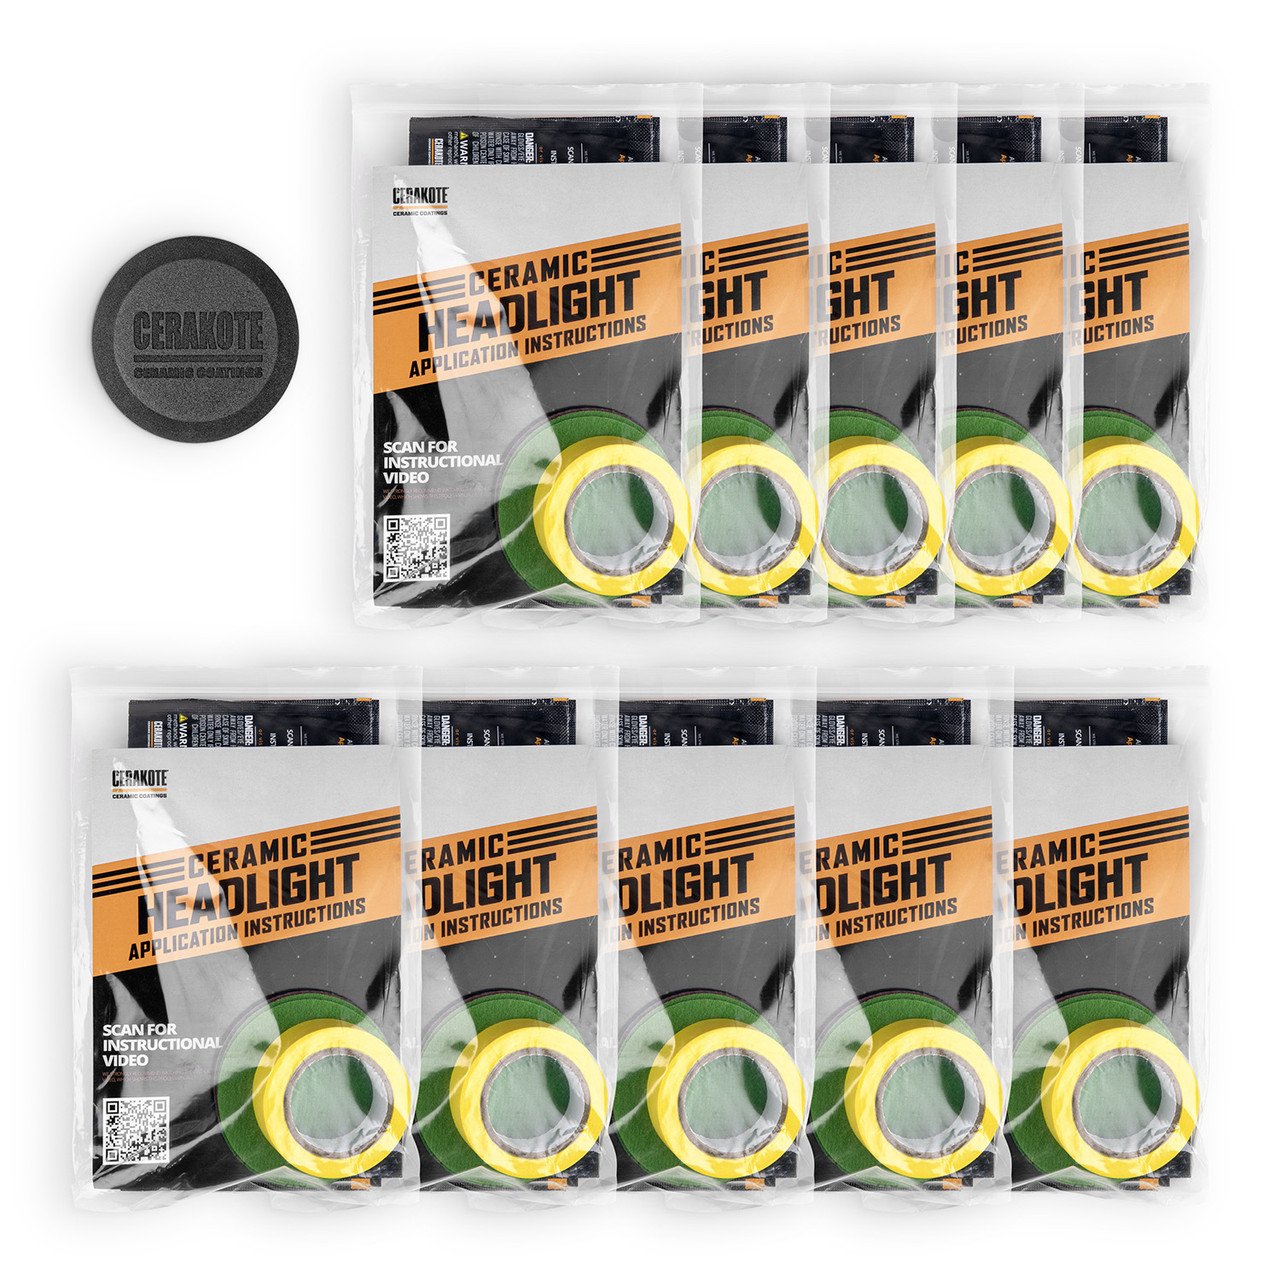
Credit: cerakoteceramics.com
Frequently Asked Questions
Can I Restore Headlights Without A Kit?
Yes, you can use toothpaste or baking soda. They work as mild abrasives. However, results are short-lived and there’s no UV protection.
How Often Should I Restore Headlights?
Most headlights need restoration every 12–24 months. If you drive in harsh conditions, you may need it sooner. Regular maintenance helps slow down clouding.
Are Diy Kits Safe For All Car Models?
Most kits work for any polycarbonate headlights. Always check instructions for compatibility. Some luxury cars have special coatings; consult your manual.
What If My Headlights Are Cloudy Inside?
Cloudiness inside usually means moisture or damage. Restoration kits only fix the outside. For internal issues, you may need professional help or replacement.
Do Restored Headlights Pass Vehicle Inspections?
Yes. Restored headlights improve brightness and appearance, making them more likely to pass safety checks. If they’re still dim after restoration, consider replacement.
Restoring your headlights is a smart, cost-effective way to improve your car’s safety and appearance. With the right tools and care, you can achieve professional-level results. Remember to use UV sealant and maintain your headlights regularly for lasting clarity. For more detailed research on headlight materials and restoration effectiveness, visit Wikipedia. Now you’re ready to make your headlights shine bright and drive safely every night.
