Replacing a motor mount may sound intimidating if you’ve never tackled car repairs before. But with the right guidance, patience, and tools, many car owners can do this job at home and save substantial money. Bad motor mounts can lead to vibrations, strange noises, and sometimes even engine damage if left unchecked. Learning how to replace a motor mount yourself not only saves labor costs, but also helps you better understand your vehicle. This guide breaks down everything you need to know, from preparation through installation, so you can approach the project with confidence.
Understanding Motor Mounts
A motor mount (or engine mount) connects your engine to the car’s frame. Its main job is to hold the engine in place and absorb vibrations and shocks. Most vehicles have two to four motor mounts, depending on the engine and drivetrain layout. Over time, these mounts can wear out due to heat, oil leaks, or general use.
When a motor mount fails, you may notice:
- Unusual engine vibrations
- Clunking or banging noises, especially when shifting gears
- Engine movement when you accelerate or brake
Replacing a motor mount promptly helps avoid damage to other engine components.
Tools And Materials You Need
Gathering all necessary tools before you start will make your job much smoother. Here’s what you’ll likely need:
- Replacement motor mount (make sure it matches your car’s year, make, and model)
- Car jack and jack stands (for lifting and safely supporting the car)
- Socket set and ratchet
- Wrenches (various sizes, depending on your car)
- Breaker bar (for stubborn bolts)
- Torque wrench (to tighten bolts to specifications)
- Pry bar
- WD-40 or penetrating oil
- Wheel chocks (to prevent the car from rolling)
- Protective gloves and safety glasses
Some vehicles may require additional specialty tools. Always check your owner’s manual or a repair guide for your car.
Credit: www.autozone.com
Preparation: Safety First
Before you touch any bolts, it’s important to prioritize safety. This part is often rushed, but mistakes here can be costly.
- Park your car on a flat, solid surface.
- Engage the parking brake and use wheel chocks to block the rear wheels.
- Disconnect the negative battery cable to avoid electrical shocks or accidental starts.
- Make sure you have enough light to see all work areas clearly.
It’s also smart to review your owner’s manual or a repair manual for your vehicle. Some vehicles have unique procedures or hidden bolts.
Step-by-step Motor Mount Replacement
Let’s break the job into manageable steps. These instructions cover most cars with front-mounted engines.
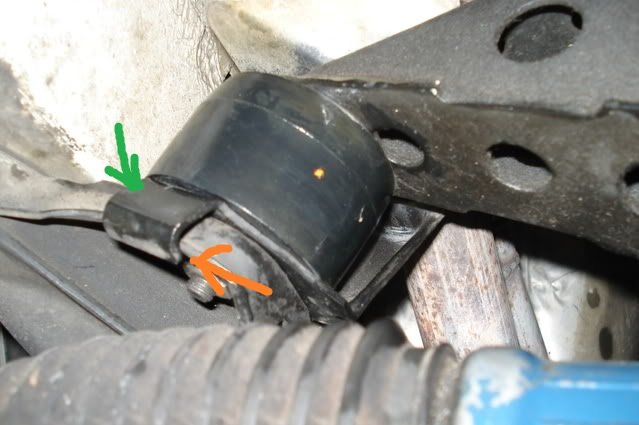
1. Locate The Motor Mount
Most vehicles have the main motor mount near the front or side of the engine. Some cars have a mount under the engine or at the rear. The mount usually looks like a rubber or polyurethane block sandwiched between two metal plates.
2. Support The Engine
You must support the engine before removing the motor mount.
- Place a hydraulic jack under the engine’s oil pan, using a thick piece of wood (like a 2×4) between the jack and oil pan to distribute weight.
- Raise the jack gently until it contacts the oil pan and supports the engine’s weight—but do not lift the engine too high.
Important: Never rely on the jack alone. Use jack stands for extra safety if possible.
3. Remove Components Blocking Access
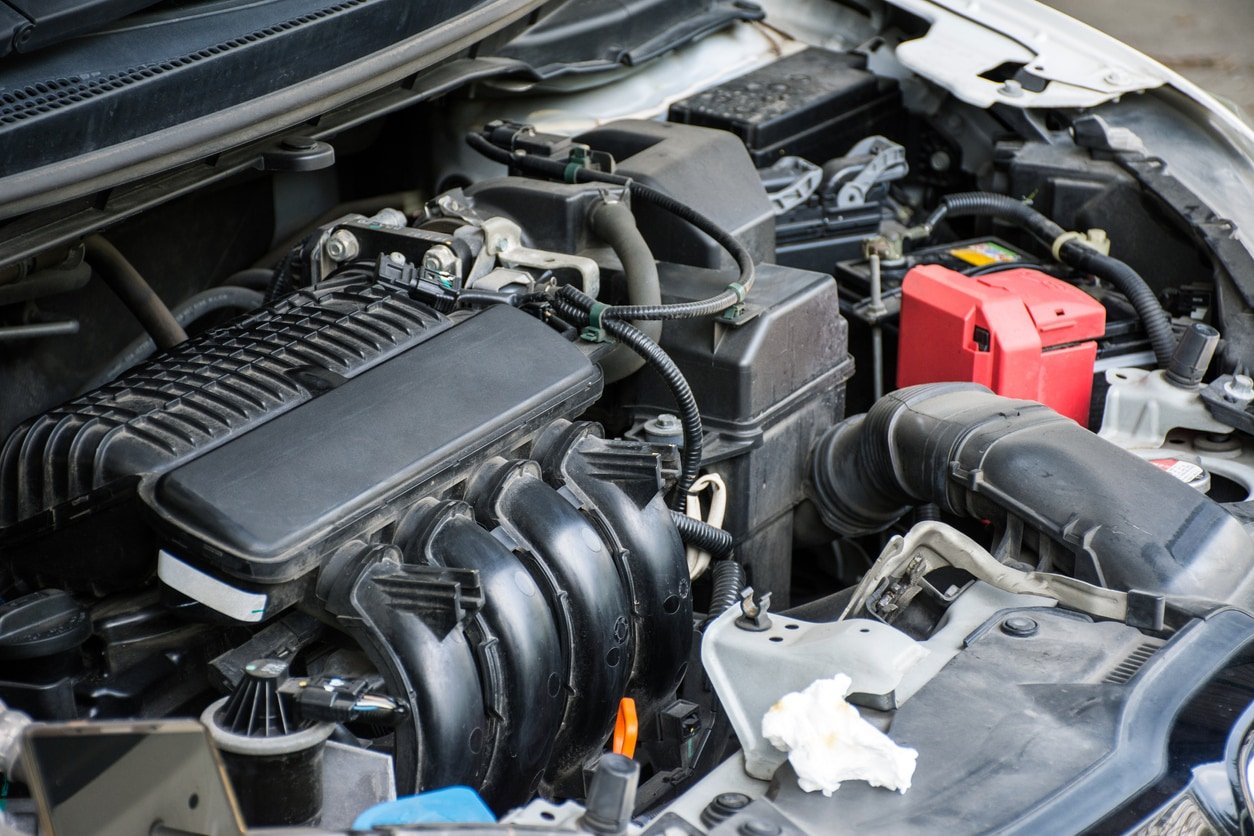
In many cars, other parts—such as air intake tubing, battery, or brackets—may block access to the motor mount. Remove these parts first and keep their bolts organized.
4. Unbolt The Motor Mount
- Spray penetrating oil on the mount bolts to loosen them, especially if they look rusty.
- Use a socket and ratchet (or breaker bar) to remove the mounting bolts that connect the mount to the engine and chassis.
Some bolts may be hard to reach. Take your time and use extensions or swivel adapters if needed.
5. Remove The Old Motor Mount
Once all bolts are out, carefully slide the old mount out of its position. You may need a pry bar if the mount is stuck.
Inspect the old mount for damage. If the rubber is cracked, split, or missing, replacement was the right choice.
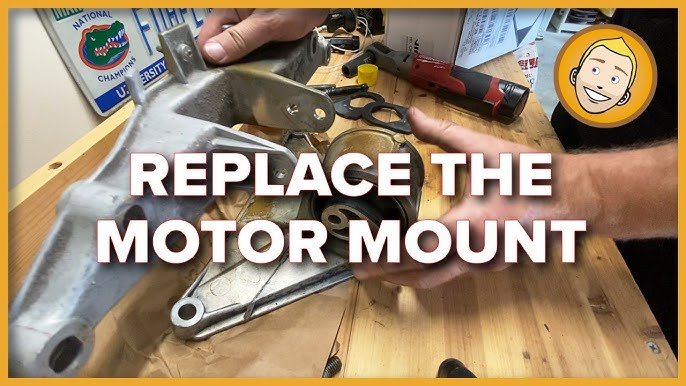
6. Compare Old And New Motor Mounts
Before installing, compare both mounts side-by-side to ensure they’re identical in shape, size, and bolt hole locations.
Here’s a quick comparison you might make:
| Feature | Old Motor Mount | New Motor Mount |
|---|---|---|
| Rubber condition | Cracked, worn | Fresh, intact |
| Mounting points | Possible distortion | Precise alignment |
| Metal frame | Rust or bends | Clean, straight |
If the new mount doesn’t match perfectly, do not force it—return it and get the correct part.
7. Install The New Motor Mount
- Slide the new mount into position.
- Hand-thread all bolts first to avoid cross-threading.
- Tighten bolts in stages, alternating sides to keep pressure even.
8. Torque Bolts To Specification
Consult your car’s manual for the correct torque specs. Use a torque wrench to ensure bolts are neither too tight nor too loose. Overtightening can damage the mount or threads.
Here’s a sample of typical torque specs for common car types:
| Vehicle Type | Mount Bolt Torque (ft-lbs) |
|---|---|
| Compact sedan | 35–45 |
| Mid-size SUV | 50–65 |
| Pickup truck | 60–80 |
Always check the specifications for your exact model.
9. Reinstall Removed Parts
Put back any components you removed to access the mount. Double-check electrical connectors and hoses are secure.
10. Lower Engine And Car
Slowly lower the jack supporting the engine, watching for any unusual movement. Remove jack stands if you used them. Lower the car to the ground.
11. Reconnect Battery And Test
Reconnect the negative battery cable. Start the engine and let it idle. Listen for odd noises and check for excessive vibration. If everything feels smooth, take a short test drive.
Common Mistakes To Avoid
Even careful DIYers can make errors with motor mount replacement. Avoid these pitfalls:
- Using the wrong mount: Always match by part number, not just by appearance.
- Skipping torque specs: Hand-tightening isn’t enough—improper torque can lead to mount failure.
- Supporting the engine incorrectly: Never jack the oil pan without a wood block, and never rely on the jack alone.
- Forgetting to remove all blocking components: Don’t force the mount past hoses or brackets, as you could damage other parts.
- Rushing the test drive: If you hear new noises or feel new vibrations, stop and re-inspect your work.
When To Leave It To A Professional
DIY isn’t always the right answer. Consider hiring a mechanic if:
- Your car has all-wheel drive or a complex engine layout.
- You lack the right tools or a safe work area.
- The mount is hidden behind major components, like the transmission or exhaust.
A professional will have experience and equipment to handle unexpected problems, such as seized bolts or misaligned engine brackets.
Credit: www.rtsauto.com
How Much Money Can You Save?
Replacing a motor mount at a shop can cost between $200 and $600 or more, depending on your car. DIYers often spend only $30–$150 on the part itself.
Here’s a rough cost breakdown:
| Method | Parts Cost | Labor Cost | Total Cost |
|---|---|---|---|
| DIY | $30–$150 | $0 | $30–$150 |
| Repair Shop | $40–$200 | $160–$400 | $200–$600 |
Remember, if you make a mistake, fixing it could cost more than the original repair. Always work within your comfort and skill level.
Practical Tips For A Smoother Job
- Take photos before you remove anything. This will help you remember where each part goes.
- Label bolts and small parts in zip bags.
- If you’re unsure about bolt torque, err on the lower side and check for looseness after a few days.
- If a bolt is stuck, apply penetrating oil and wait 10–15 minutes before trying again.
- Don’t work under a car supported only by a jack—use jack stands for safety.
Non-obvious Insights For Beginners
- Not all motor mounts are the same. Some are filled with liquid or hydraulic fluid for extra damping. If your car uses this type, they may leak when damaged—a clue that you need a hydraulic mount.
- Replacing one mount may reveal others are worn. After you install a new mount, extra vibration can show up if the remaining mounts are already weak. Inspect all mounts before starting.
- Check for nearby leaks. Oil or transmission fluid leaks can destroy new mounts quickly. Fix leaks before installing a new mount.
Additional Resources
If you need diagrams or more model-specific guides, a great resource is the Wikipedia Motor Mount page.
Credit: www.youtube.com
Frequently Asked Questions
What Are The Signs Of A Bad Motor Mount?
Common symptoms include excessive vibration, clunking noises when shifting, and the engine moving when you accelerate or brake. Sometimes you may feel a sudden “thud” when starting or stopping the engine.
How Long Does It Take To Replace A Motor Mount Diy?
For most cars, the job takes 1 to 3 hours if you have all the tools and parts. Some cars are more complicated and may take longer, especially if other parts block access to the mount.
Is It Safe To Drive With A Broken Motor Mount?
It’s not recommended. A broken mount can lead to engine movement, which can damage hoses, wiring, or the exhaust. It can also affect your driving safety, so replace bad mounts as soon as possible.
Do All Motor Mounts Fail At The Same Time?
No. Usually, one mount fails first, but the extra stress can cause others to wear out faster. If one is bad, inspect all mounts and consider replacing them together if they show signs of wear.
Can I Use Aftermarket Motor Mounts?
Yes, but check for quality and compatibility. Some aftermarket mounts are stiffer, which can increase vibration but last longer. Always buy from a reputable brand and match the part number to your vehicle.
Replacing a motor mount yourself can be a rewarding and money-saving project. With careful preparation, attention to detail, and patience, you’ll keep your engine running smoothly and learn valuable skills along the way.
