Replacing your car’s oxygen sensor can seem difficult if you’ve never done it before. But with the right tools, a bit of patience, and careful steps, most people can change an oxygen sensor at home. This guide covers everything you need to know—from understanding what an oxygen sensor does, to the exact steps for removing and installing one, plus tips for avoiding common mistakes. By the end, you’ll feel confident handling this repair and saving money on mechanic bills.
What Is An Oxygen Sensor And Why Is It Important?
The oxygen sensor (sometimes called an O2 sensor) is a small part in your car’s exhaust system. It measures the amount of oxygen in the exhaust gases as they leave the engine. This information goes to the car’s computer, which uses it to adjust the air-fuel mixture for better fuel efficiency and fewer emissions.
If your oxygen sensor fails, your car may use more fuel, pollute more, or even damage other parts like the catalytic converter. In fact, a bad sensor can lower fuel efficiency by up to 40%. That’s why replacing a faulty oxygen sensor is important for both your wallet and the environment.
Signs Your Oxygen Sensor Needs Replacement
You might not notice a broken sensor right away. But these warning signs often point to a failing oxygen sensor:
- Check Engine Light: The most common sign. The car’s computer detects a problem and turns on this warning.
- Poor Fuel Economy: If you’re filling up more often, the oxygen sensor may not be sending correct data.
- Rough Engine Idle: A bad sensor can cause the engine to run unevenly or even stall.
- Failed Emissions Test: The car will often fail local emissions checks if the sensor is not working.
- Engine Hesitation or Power Loss: The car may feel sluggish or slow to respond.
Some of these symptoms can also be caused by other problems. That’s why it’s smart to scan the car’s computer codes before replacing any parts.
Tools And Materials Needed
Before starting, make sure you have these items:
- Replacement oxygen sensor (check your car’s make, model, and engine)
- Oxygen sensor socket (a special tool with a slot for the wire)
- Ratchet wrench and extension (for easier reach)
- Anti-seize compound (often comes with the new sensor)
- Penetrating oil (like WD-40, for loosening rusted sensors)
- Gloves and safety glasses
- Jack and jack stands (if the sensor is under the car)
- OBD-II scanner (for reading and clearing codes, optional but helpful)
If you don’t have all these tools, some auto parts stores offer loaner tools for free.
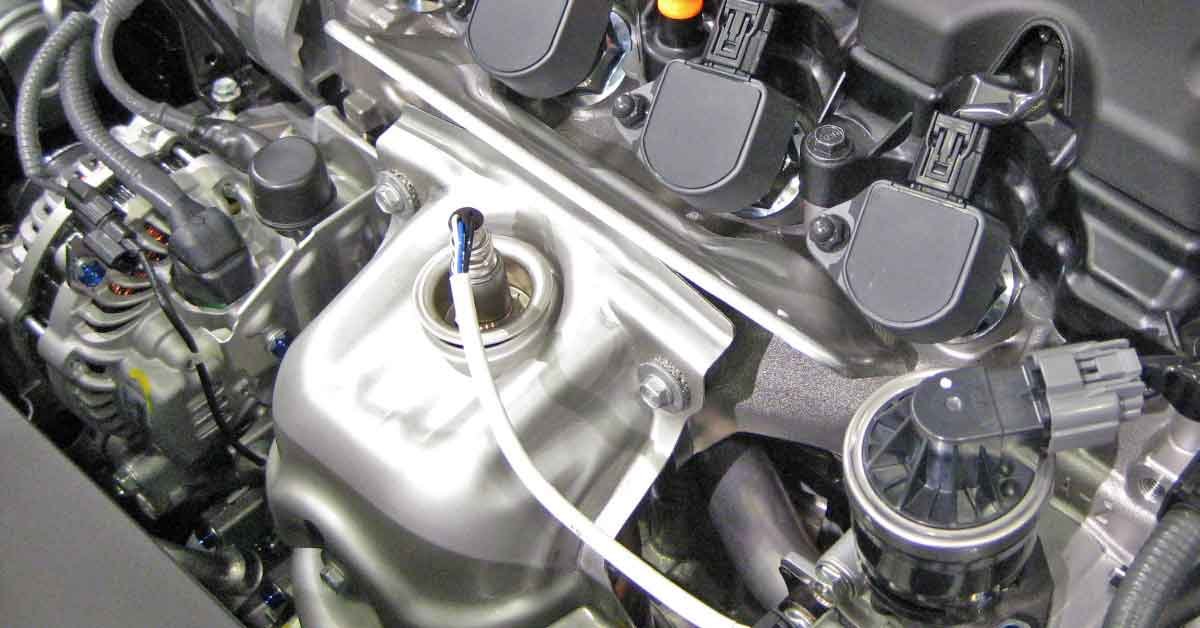
Locating The Oxygen Sensor
Most cars have between one and four oxygen sensors. They’re usually found:
- Upstream (before the catalytic converter): Closer to the engine, monitors air-fuel ratio.
- Downstream (after the catalytic converter): Checks if the converter is working.
Check your car manual or look under the car—sensors are small, round, and screw into the exhaust pipe, with a wire attached.
Here’s a quick comparison of typical sensor locations by car type:
| Car Type | Number of Sensors | Common Locations |
|---|---|---|
| 4-cylinder (gasoline) | 2 | Upstream & Downstream |
| V6/V8 (gasoline) | 4 | 2 Upstream, 2 Downstream |
| Diesel | 1–2 | Upstream, sometimes Downstream |
If you’re not sure, search your car’s year and model online.
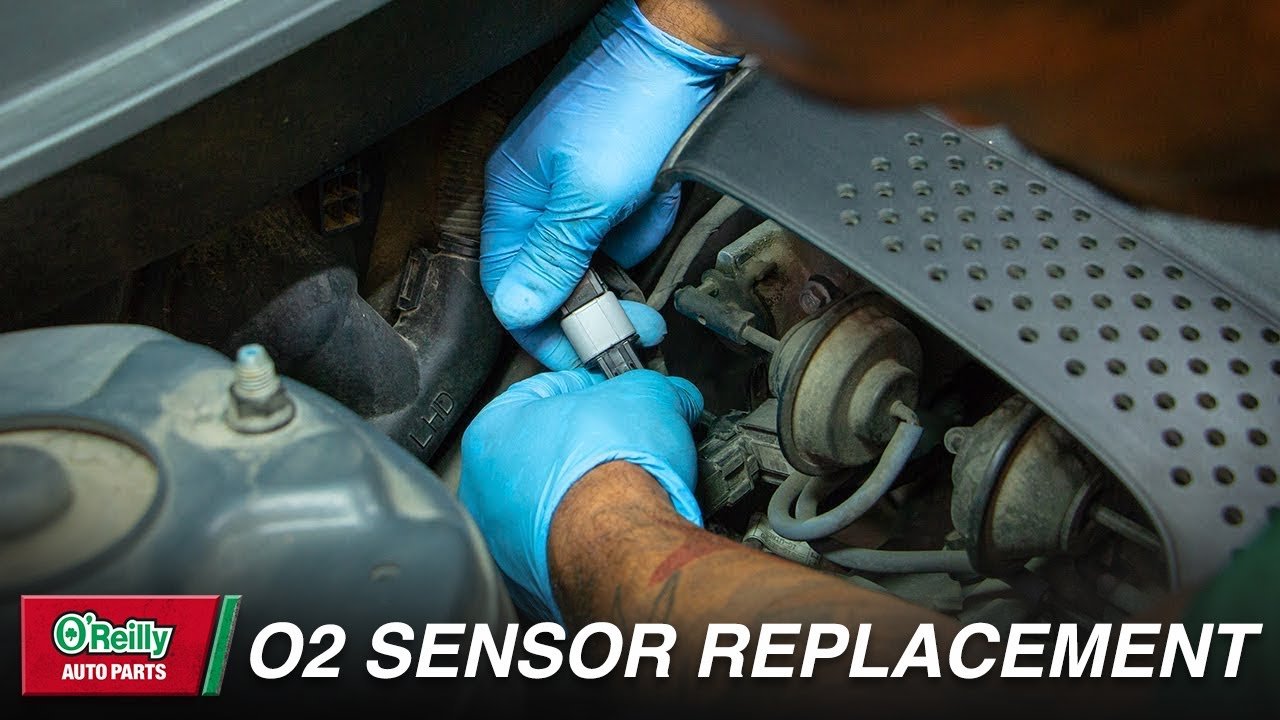
Credit: www.youtube.com
How To Replace An Oxygen Sensor: Step-by-step
1. Prepare The Car
- Make sure the engine is cool. Working on a hot exhaust can cause burns.
- Park on a flat surface and use the parking brake.
- If the sensor is under the car, raise the car with a jack and place jack stands under the frame for safety.
- Disconnect the negative battery terminal to prevent electrical shocks.
2. Locate The Faulty Sensor
- Use an OBD-II scanner to find which sensor is bad. The code may say “Bank 1 Sensor 2,” for example.
- Trace the exhaust pipe to find the correct sensor. Unplug the sensor’s electrical connector.
3. Remove The Old Sensor
- Spray penetrating oil on the sensor’s threads. Let it sit for at least 10 minutes—this helps loosen rust.
- Use the oxygen sensor socket and a ratchet to turn the sensor counterclockwise.
- If the sensor is stuck, carefully apply more force, but don’t break the sensor off inside the pipe.
- Once loose, unscrew it by hand.
4. Prepare The New Sensor
- Compare the new sensor with the old one to make sure they match.
- Apply a small amount of anti-seize compound to the threads. Avoid getting it on the sensor tip.
- Double-check the wiring plug matches your car’s connector.
5. Install The New Sensor
- Carefully thread the new sensor into the hole by hand first to avoid cross-threading.
- Tighten with the sensor socket and ratchet—don’t overtighten, just snug.
- Reconnect the sensor’s wiring plug until it clicks into place.
6. Reconnect And Test
- Reconnect the battery terminal.
- Lower the car if it was raised.
- Start the engine. The check engine light should turn off after a short drive. If not, clear the code with an OBD-II scanner.
Common Mistakes To Avoid
Even experienced DIYers make mistakes when changing an oxygen sensor. Here’s how to avoid the most common ones:
- Cross-threading: Always start threading by hand. Forcing the sensor can damage the exhaust pipe.
- Touching the sensor tip: Oil from your fingers can damage the sensor. Hold it by the body.
- Over-tightening: Use only as much force as needed to snug the sensor. Too tight can strip the threads.
- Forgetting anti-seize: This makes future replacements much easier.
- Disconnecting the wrong sensor: Use the OBD-II code and visual check to find the right sensor.
Credit: knowhow.napaonline.com
How To Choose The Right Oxygen Sensor
Not all sensors are the same. When buying a replacement, pay attention to:
- Sensor type: There are heated and unheated sensors. Heated ones are common in newer cars.
- Wiring length: Make sure the wire plug matches your car’s connector. Universal sensors often require splicing, which can be tricky.
- Brand: Stick with reputable brands recommended in your car’s manual or by trusted mechanics.
- OEM vs. aftermarket: OEM (original equipment manufacturer) parts are usually more expensive but fit better.
Here’s a quick comparison of OEM and aftermarket sensors:
| Feature | OEM Sensor | Aftermarket Sensor |
|---|---|---|
| Fit | Perfect | May need adjustment |
| Price | Higher | Lower |
| Warranty | Often included | Varies |
| Installation | Plug-and-play | May need wiring work |
In most cases, a direct-fit OEM or high-quality aftermarket sensor is the best choice.
When To Seek Professional Help
While many people can replace an oxygen sensor themselves, there are times when it’s better to let a mechanic handle it:
- Sensor is very rusted or stuck: Removing it may require special tools.
- Difficult access: Some sensors are hard to reach without a lift.
- Multiple sensors failed: There may be a deeper engine problem.
- Uncertain about diagnosis: If you’re not sure which sensor is bad, a pro can help.
A professional replacement usually costs between $150 and $300, including parts and labor.
Additional Tips For A Successful Repair
- Read the car’s service manual: Each car is a bit different. The manual will show exact sensor locations and torque specs.
- Drive the car for 10-20 miles after replacing the sensor. This helps the car’s computer reset.
- Check for other exhaust leaks: Sometimes, a bad sensor is a sign of other problems.
- Keep your old sensor: If the check engine light returns, you may want to have the old sensor tested.
A common beginner mistake is to ignore the wiring. Even a new sensor won’t work if the wiring or plug is damaged. Inspect these parts before and after installation.
Saving Money And The Environment
Replacing a failing oxygen sensor is one of the cheapest repairs that can have a big effect. You might save $100 or more in gas each year, and your car will pollute less. In some places, you may even get a tax credit for passing emissions tests.
Remember, the sensor is only one part of the emissions system. If your car still has problems after replacement, have a mechanic check for issues like leaky exhaust pipes, a bad catalytic converter, or engine misfires.
For more about car emission control systems, see this Wikipedia article.
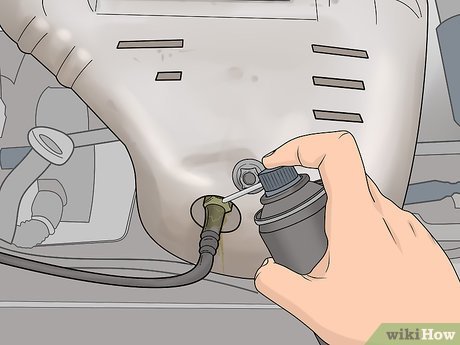
Credit: www.wikihow.com
Frequently Asked Questions
What Happens If I Don’t Replace A Faulty Oxygen Sensor?
A bad sensor can cause poor fuel economy, higher emissions, and eventually damage expensive parts like the catalytic converter. It can also make your car fail emissions tests.
How Long Does It Take To Replace An Oxygen Sensor?
For most cars, replacing a sensor takes between 30 and 60 minutes. If the sensor is stuck or hard to reach, it may take longer.
Can I Drive With A Bad Oxygen Sensor?
You can drive for a short time, but it’s not recommended. The engine will run less efficiently, and other parts may get damaged over time.
Do I Need To Replace All Oxygen Sensors At Once?
No, you only need to replace the faulty sensor. However, if your car has high mileage, replacing all sensors can prevent future problems.
How Do I Know Which Oxygen Sensor To Replace?
Use an OBD-II scanner to read the car’s error codes. The code will tell you which sensor is bad (for example, “Bank 1 Sensor 2”). Double-check with a visual inspection before replacing.
Replacing an oxygen sensor is a practical and rewarding repair. With careful steps and the right information, you’ll keep your car running smoother—and save money, too.
