Testing an O2 sensor with a multimeter might sound technical, but it’s a task many car owners and DIY mechanics can handle with the right steps. The oxygen sensor, often called the O2 sensor, is a small part but plays a big role in your vehicle’s engine efficiency and emissions.
If your check engine light is on, or your car’s fuel economy drops suddenly, the O2 sensor could be the cause. Knowing how to check it properly can save you time, money, and trouble.
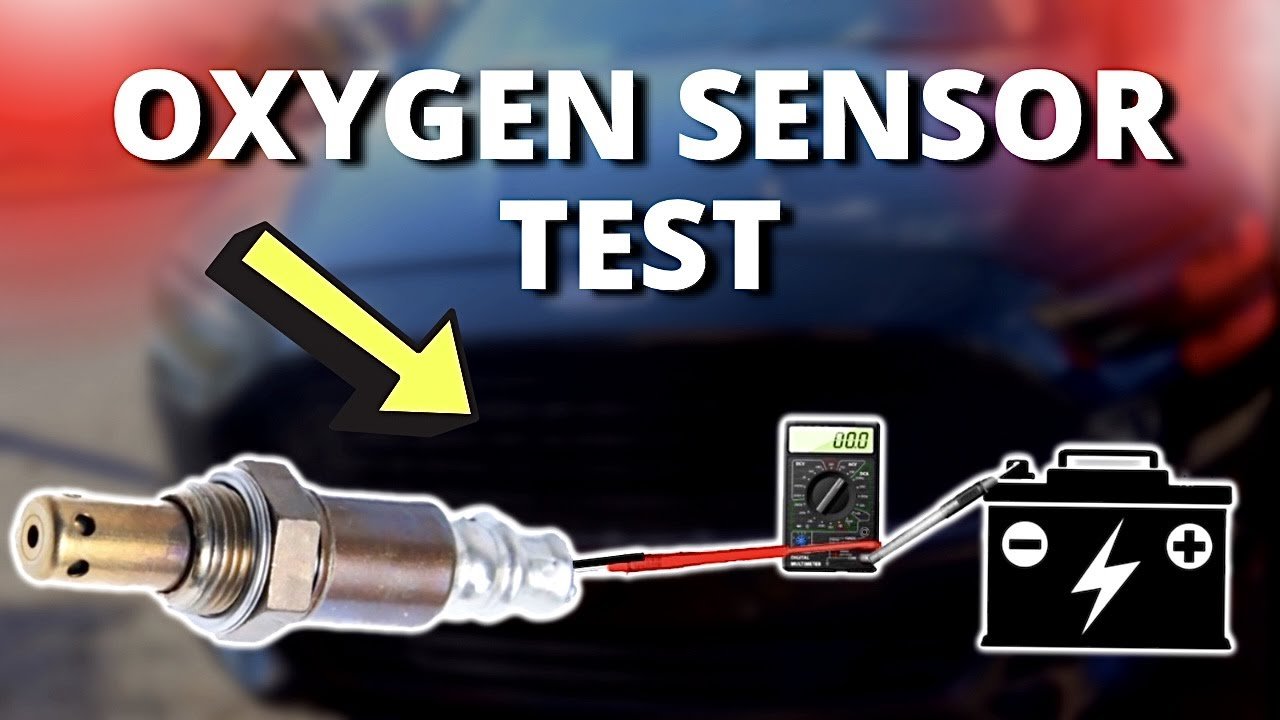
This guide will show you exactly how to test an O2 sensor using a multimeter. We’ll cover what an O2 sensor does, the tools you need, safety tips, the testing process step-by-step, and how to read the results. You’ll also learn to spot common mistakes and understand when a sensor really needs to be changed.
Whether you’re a curious car owner or a beginner mechanic, you’ll have a clear path to diagnosing O2 sensor problems confidently.
Understanding The O2 Sensor
The oxygen sensor is a device that measures the amount of oxygen in your car’s exhaust gases. It sends this information to your car’s engine control unit (ECU). The ECU uses these readings to adjust the air-fuel mixture for better performance and lower emissions. Most cars have at least one O2 sensor, but newer models may have two or more.
Why Is The O2 Sensor Important?
- Fuel efficiency: A faulty O2 sensor can cause your engine to burn more fuel.
- Emissions control: It helps keep your car’s exhaust clean and within legal limits.
- Engine performance: Poor sensor readings can make your engine run rough, hesitate, or lose power.
Some symptoms of a bad O2 sensor include a glowing check engine light, poor acceleration, higher fuel usage, or a failed emissions test.
Tools And Preparation
Before you start, gather the right tools and take safety precautions.
What You’ll Need
- Digital multimeter (with at least 20V DC range and resistance/ohm setting)
- Basic hand tools (screwdrivers, wrenches)
- O2 sensor wiring diagram (found in your car’s repair manual)
- Protective gloves and eyewear
- Jack and jack stands (if access from under the car is needed)
- Pen and paper (for recording readings)
Safety Tips
- Work in a well-ventilated area.
- Let the engine cool down before touching any parts.
- Disconnect the negative battery terminal if working with wiring directly.
- Avoid hot exhaust components.
Pro tip: Some O2 sensors are easier to reach from under the car. Make sure the car is safely supported before going underneath.
Types Of O2 Sensors
Knowing which O2 sensor you have helps you test it correctly. There are two main types:
- Zirconia O2 sensors: Most common, produce a voltage based on oxygen levels.
- Titania O2 sensors: Change resistance instead of voltage.
Most cars use zirconia sensors, but always check your vehicle manual or sensor part number to be sure.
| Sensor Type | Signal Output | Common Location | Years Used |
|---|---|---|---|
| Zirconia | Voltage (0.1V – 0.9V) | Upstream/Downstream | 1980s-Present |
| Titania | Resistance Change | Upstream | 1990s-Early 2000s |
Non-obvious insight: Some vehicles use wideband O2 sensors, which require a special meter. Standard multimeter tests only work for narrowband sensors.
Locating The O2 Sensor
O2 sensors are usually found in the exhaust system. Most cars have:
- Upstream sensor: Before the catalytic converter (closer to the engine)
- Downstream sensor: After the catalytic converter
Check your car’s manual for the exact location. Sensors look like small plugs screwed into the exhaust pipe, with wires leading to the engine harness.
Tip: Trace the exhaust from the engine manifold; you’ll see the sensor’s wiring and connector.
Step-by-step: Testing The O2 Sensor With A Multimeter
1. Identify The Signal Wire
Most O2 sensors have 3 or 4 wires:
- Signal wire: Sends data to the ECU
- Heater wires: Provide power to heat up the sensor quickly
- Ground wire
Use the wiring diagram to find the signal wire. This is the wire you’ll test for voltage or resistance.
2. Check The Heater Circuit (if Equipped)
Many O2 sensors have a built-in heater. You can test the heater with your multimeter set to ohms (Ω).
- Unplug the sensor.
- Locate the two heater wires (usually same color).
- Put the multimeter leads on these terminals.
A typical heater should measure 3–10 ohms. If it shows “OL” (open loop) or infinite resistance, the heater is broken.
3. Testing Sensor Voltage (zirconia Type)
With Engine Running (best Method)
- Plug the sensor back in.
- Backprobe the signal wire (insert the probe into the connector from the back, not cutting any wire).
- Set your multimeter to DC volts (2V or 20V range).
- Start the engine and let it warm up fully (sensor must be hot).
- With the engine idling, observe the voltage on the signal wire.
Normal readings: The voltage should switch rapidly between 0.1V (lean) and 0.9V (rich). A healthy sensor will cycle several times per second.
Example:
- Readings: 0.15V, 0.85V, 0.2V, 0.9V, changing every second.
- This means the sensor is reacting to exhaust changes.
If the voltage stays low (0. 1–0. 3V) or high (0. 7–0. 9V) all the time, the sensor is likely faulty.
4. Testing Sensor Response
You can force the sensor to react by changing the engine’s air-fuel mix.
- Rev the engine quickly (snap the throttle).
- Spray a small amount of carb cleaner into a vacuum line (for advanced users).
- The voltage should change quickly from low to high, then back.
A slow response means the sensor is “lazy” and needs replacing.
5. Testing Titania Sensors (resistance Type)
For titania sensors, the process is different.
- Set your multimeter to ohms (Ω).
- Test across the signal and ground wires.
- Change the engine speed; resistance should change as the air-fuel mixture changes.
Check your car’s manual for the correct resistance values. Usually, it ranges from 20,000 to 30,000 ohms.
Reading And Interpreting Results
| Test | Good Reading | Bad Reading | Possible Causes |
|---|---|---|---|
| Voltage (Zirconia) | 0.1V – 0.9V, switches rapidly | Stuck high or low, no change | Failed sensor, wiring, ECU |
| Heater Resistance | 3–10 ohms | Infinite/open or zero | Burned heater, fuse, relay |
| Titania Resistance | Changes with engine speed | No change, always high/low | Failed sensor |
Non-obvious insight: Sometimes, a sluggish sensor will pass basic tests but still cause problems. If your car’s fuel economy is poor and other parts are working, consider replacing the sensor after 100,000 km (60,000 miles) as preventive maintenance.

Credit: www.fluke.com
Common Mistakes To Avoid
- Testing a cold sensor: Results are unreliable if the engine and sensor aren’t fully warmed up.
- Not back-probing: Never pierce wires. Always test from the connector back side.
- Mixing up wires: Heater and signal wires look similar—always check the diagram.
- Ignoring ground: A poor ground can give false sensor readings.
- Skipping the heater test: A broken heater delays sensor operation, causing driveability issues.
When To Replace The O2 Sensor
Replace your O2 sensor if:
- Voltage stays stuck or changes very slowly.
- Heater resistance is open (no reading).
- There’s visible damage, contamination, or corrosion.
- The sensor has over 100,000 km (60,000 miles) of use.
A new sensor can restore lost power and improve fuel economy by up to 15% in some cases.
Comparing O2 Sensor And Multimeter Features
If you need a new multimeter or sensor, compare the main features:
| Feature | Basic Multimeter | Advanced Multimeter | O2 Sensor |
|---|---|---|---|
| Voltage Measurement | Yes | Yes | N/A |
| Resistance Measurement | Yes | Yes | N/A |
| Frequency/Graphing | No | Yes | N/A |
| Heater Circuit | N/A | N/A | Yes |
| Expected Life Span | 5+ years | 10+ years | 60,000–100,000 km |
Practical Tips For Accurate Testing
- Always use a digital multimeter for best results. Analog meters can load the circuit and give wrong readings.
- Test the sensor with the engine running and warmed up.
- Record your readings to compare over time.
- Clean sensor connectors before testing to prevent false results.
- For best accuracy, test both at idle and higher RPMs.
Expert tip: If your car has multiple O2 sensors, compare readings between them. A big difference usually means one sensor is going bad.
Credit: www.youtube.com
What To Do After Testing
If your O2 sensor fails any test, replace it with a quality part. Clear any error codes with a scan tool after the repair. If the sensor passes but the engine still has problems, check related systems: vacuum leaks, fuel injectors, or the catalytic converter.
For detailed repair instructions or to find wiring diagrams, you can visit AA1Car O2 Sensor Guide.
Frequently Asked Questions
What Does An O2 Sensor Do In A Car?
The O2 sensor measures the amount of oxygen in your vehicle’s exhaust. It helps the engine control unit adjust the air-fuel mix for best performance and lowest emissions.
Can I Drive With A Bad O2 Sensor?
You can drive for a short time, but a faulty sensor will reduce fuel economy, increase emissions, and may damage the catalytic converter if not fixed soon.
How Often Should O2 Sensors Be Tested?
Test the O2 sensor if you notice symptoms like poor mileage, rough idling, or a check engine light. Regular testing every 60,000–100,000 km is good preventive care.
Is A Special Tool Needed To Test An O2 Sensor?
No, a regular digital multimeter is enough for most O2 sensor tests. Only some advanced sensors need special tools.
Does A Bad O2 Sensor Always Trigger The Check Engine Light?
Usually, yes. Most cars will show a check engine light if the sensor fails, but not always. Some problems only show up as poor fuel economy or failed emissions tests.
Testing an O2 sensor with a multimeter is a valuable skill for car owners and DIY mechanics. With careful steps and the right safety, you can diagnose sensor problems confidently, helping your car run cleaner and more efficiently.

Credit: www.tacomaworld.com
