Paintless Dent Repair Diy: A Complete Guide For Beginners
If you own a car, dents are almost impossible to avoid. Maybe a shopping cart hit your door or a hailstorm left small dings on your hood. Many people think they need an expensive body shop to fix these. But there’s good news—you can often repair them yourself with paintless dent repair (PDR). This method saves money, keeps your car’s original paint, and avoids long waits at auto shops. If you’re curious about PDR or want to try it at home, this guide will show you everything you need to know, including tools, steps, tips, and what beginners often miss.
What Is Paintless Dent Repair?
Paintless dent repair is a method for removing minor dents and dings without repainting the car. Instead of sanding or using fillers, you gently massage the metal back to its original shape from behind the panel. PDR only works when the paint is still intact and the metal is not severely stretched.
Why does PDR matter? It keeps your factory finish, which helps your car keep its value. It also costs less than traditional repairs and can be done quickly—even in your own garage.
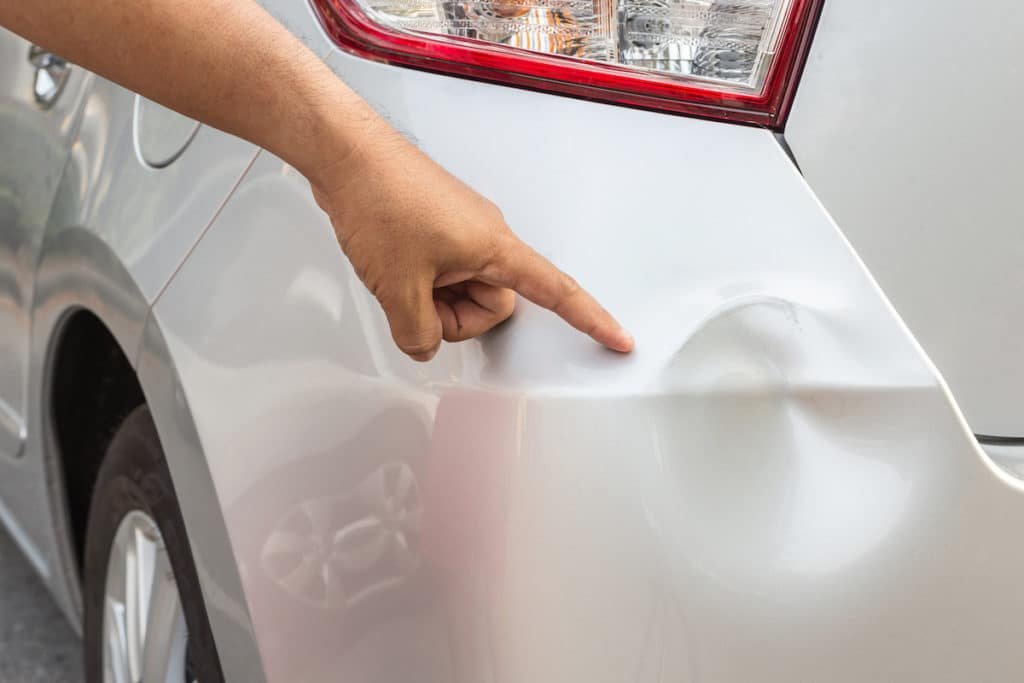
When Can You Do Paintless Dent Repair Yourself?
Not every dent is right for a DIY repair. Here’s how to tell if your dent is a good candidate:
- The paint is not cracked, chipped, or broken.
- The dent is not on a sharp body line or edge.
- The metal is not creased or torn.
- The area is accessible from behind (like doors, hoods, and roofs).
If your dent fits these points, DIY PDR might work well. Deep dents, sharp creases, or areas near panel edges are best left to professionals.
Tools And Materials Needed
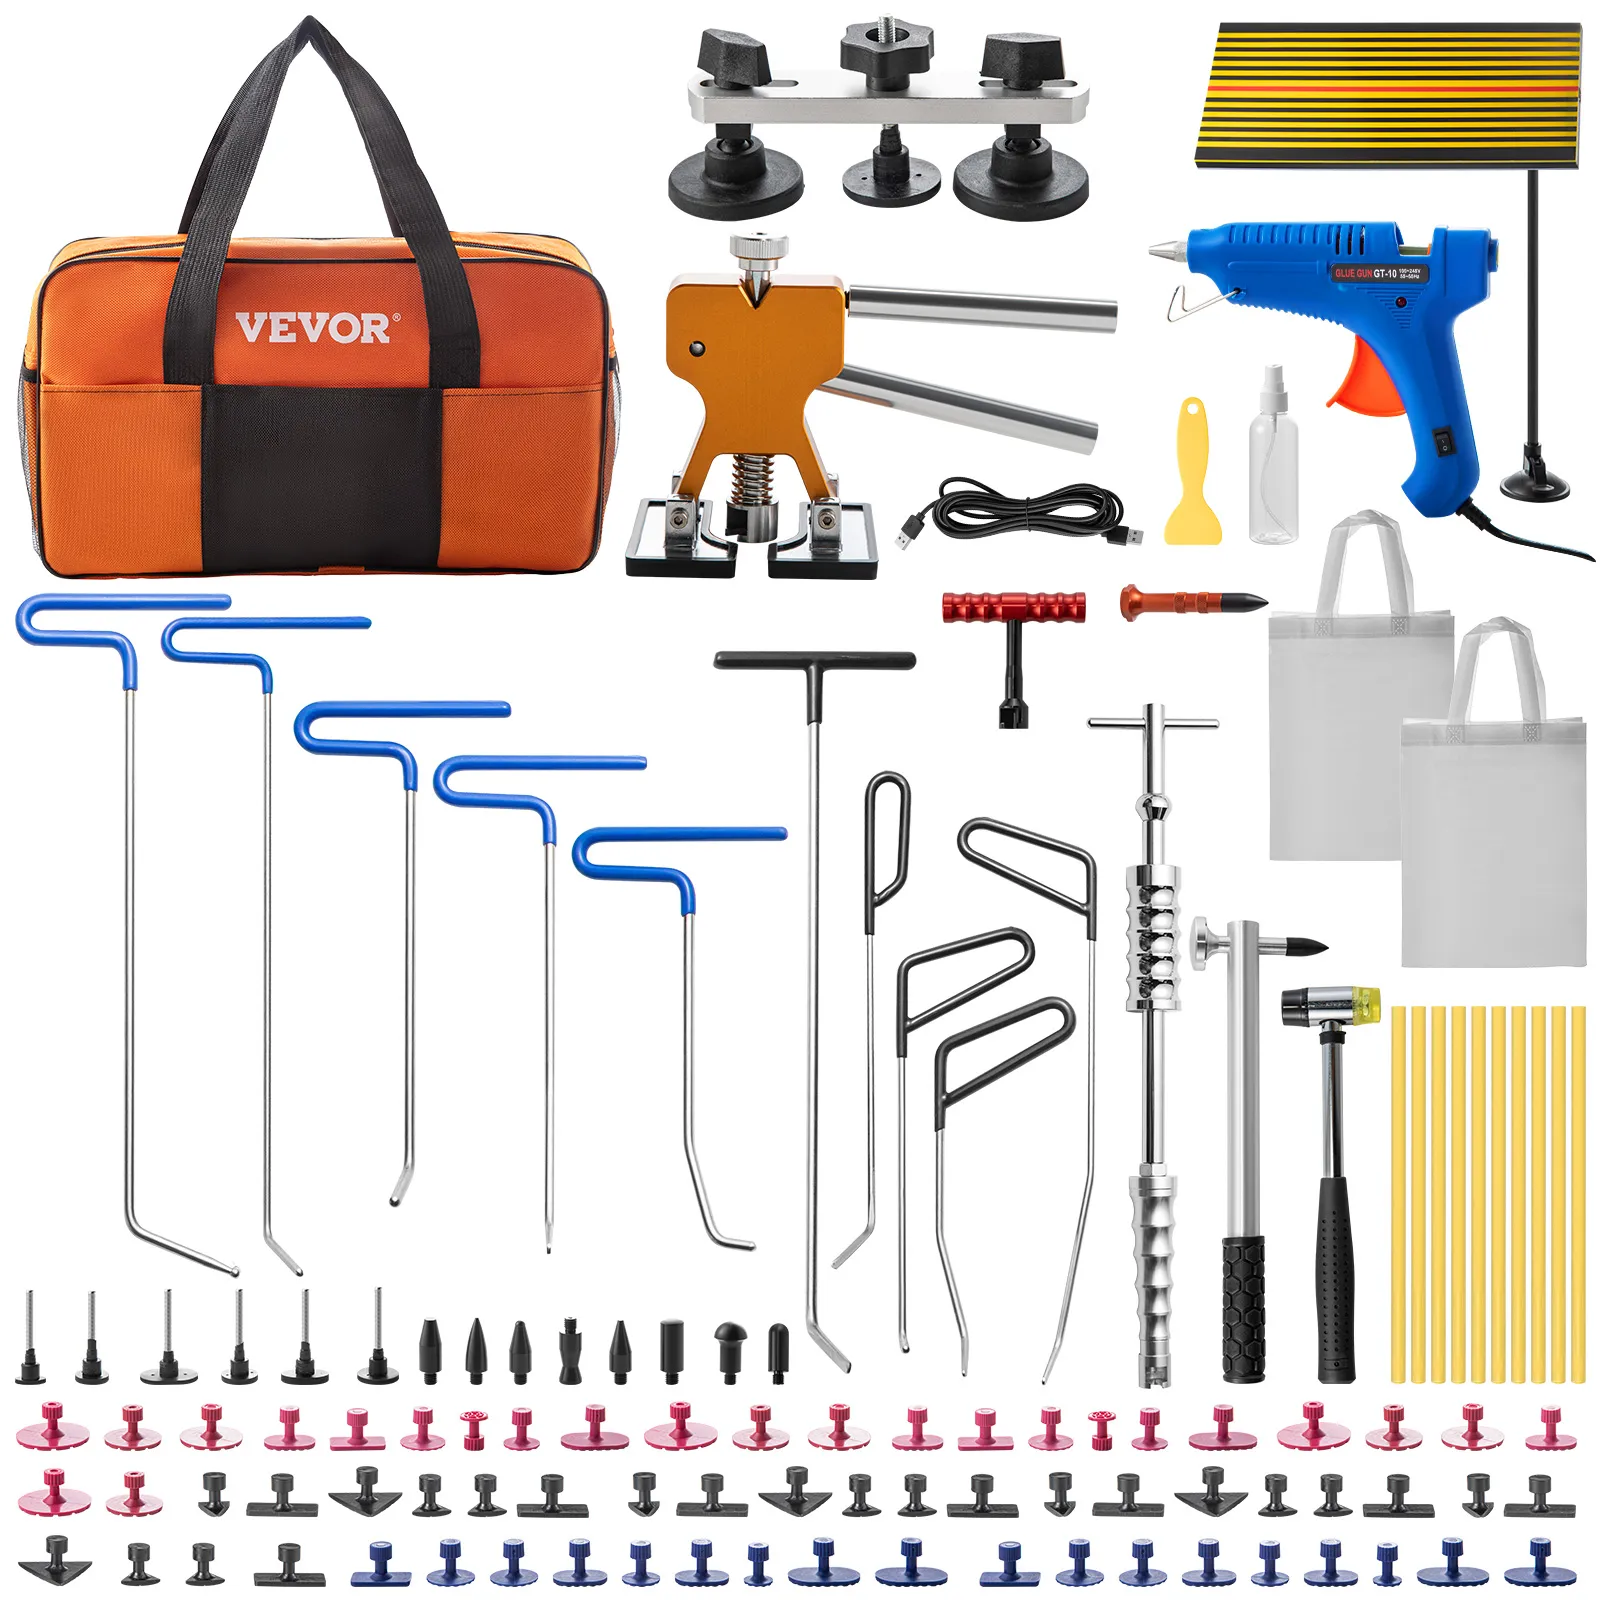
You don’t need a huge workshop. Here are the basic tools for paintless dent repair at home:
- PDR Rods and Levers: Used to reach behind panels and gently push dents out.
- Glue Pulling Kit: Includes glue sticks, a glue gun, pulling tabs, and a slide hammer.
- Dent Lifter: A tool that pulls out dents using glue tabs.
- Rubber Mallet and Tap Down Pen: For flattening high spots.
- LED Line Board or Reflection Board: Helps you see the dent’s outline clearly.
- Heat Gun or Hair Dryer: Softens paint and metal, making them easier to move.
- Rubbing Alcohol: Removes glue residue.
- Microfiber Cloths: For cleaning surfaces.
You can find complete PDR tool kits online or at auto parts stores. Quality varies, but even basic kits are good for learning.
Step-by-step: How To Do Paintless Dent Repair Yourself
Here’s a clear process you can follow at home:
1. Clean The Area
Dirt or dust can scratch your paint during repair. Wash the dented area and dry it with a clean microfiber cloth.
2. Assess The Dent
Use an LED line board or reflection board to look at the dent from different angles. This helps you see the center and edges more clearly.
3. Choose Your Method
- From Behind the Panel: If you can reach the back (like inside a door), use PDR rods.
- Glue Pulling: For hard-to-reach dents, glue tabs and pullers work from the outside.
4. Use Heat (if Needed)
For dents on cold days or on older paint, heat the area gently with a hair dryer or heat gun. This makes the paint flexible and less likely to crack.
5. Push Or Pull The Dent
- If using PDR rods, carefully massage the dent from behind. Start at the edges and work towards the center, using gentle, steady pressure.
- For glue pulling, place a glue tab in the center of the dent, attach it with hot glue, and use a dent lifter or slide hammer to pull gently.
6. Check Your Progress
After each push or pull, use the line board to check the dent. It should become less visible with each attempt.
7. Tap Down High Spots
Sometimes, the metal goes too far and creates a small bump. Use the tap down pen and a rubber mallet to flatten these gently.
8. Remove Glue Residue
Clean off any leftover glue with rubbing alcohol and a microfiber cloth.
9. Repeat If Needed
Some dents need several rounds of pushing, pulling, and checking. Be patient—rushing can make things worse.
Tip: If the dent pops back, it means the metal has “memory” and might need more gentle shaping.
Credit: www.toyotaoforlando.com
Comparing Paintless Dent Repair To Traditional Dent Repair
To see if PDR is the right choice, compare it with traditional dent repair methods.
| Aspect | Paintless Dent Repair (PDR) | Traditional Dent Repair |
|---|---|---|
| Cost | Lower (often under $100 for small dents) | Higher ($200–$500+) |
| Time Needed | 1 hour or less | 1–3 days |
| Paint Damage | None if done right | Paint is sanded and resprayed |
| Best For | Small/medium dents, no paint damage | Deep dents, paint cracks, panel edges |
Non-obvious insight: Many beginners think PDR can fix any dent. In reality, it works best on shallow dents with no paint damage.
Common Mistakes To Avoid
Trying PDR at home can be rewarding, but mistakes are easy to make. Here’s how to avoid them:
1. Using Too Much Force
Gentle pressure works best. Forcing the metal can stretch it, crack the paint, or create “oil canning” (a wavy surface).
2. Ignoring The Paint Condition
If the paint is chipped or cracked, PDR can make it worse. Only fix dents with solid paint.
3. Not Using The Right Tools
Homemade tools can damage panels. Use proper PDR rods and glue kits.
4. Skipping The Heat Step
Cold paint is brittle, especially on older cars. Always warm up the area.
5. Overworking The Dent
Too many pushes can make the metal weak and wavy. Work slowly and check often.
6. Forgetting Safety
Wear gloves and eye protection when using glue or hammers.
Non-obvious insight: It’s easy to get excited and rush the job. Slow, careful work gives the best results and protects your car’s value.
Diy Paintless Dent Repair: Realistic Results
Some people expect a perfect finish the first time. In reality, most beginners can make a dent much less visible but not always invisible. The more you practice, the better your results. Practice on an old car panel or a junkyard fender before working on your own car.
When Not To Use Paintless Dent Repair At Home
Sometimes, it’s smarter to call a professional or use traditional repair. Avoid DIY PDR if:
- The dent is on a sharp body crease or edge.
- The metal is stretched or torn.
- The paint is cracked or peeling.
- The dent is larger than a dinner plate.
- There’s a risk of damaging airbags, sensors, or wiring.
If you’re unsure, ask a PDR technician for advice before trying it yourself.
Costs: Diy Vs. Professional
How much will you save by doing PDR yourself? Here’s a simple comparison:
| Repair Method | Typical Cost | What’s Included |
|---|---|---|
| DIY PDR Kit | $30–$100 (one-time) | Basic tools, glue, rods |
| Professional PDR | $80–$200 per dent | Expert labor, guaranteed results |
| Traditional Body Shop | $200–$500+ | Paint, filler, labor |
A quality PDR kit pays for itself after one or two repairs. But if you’re not confident, a professional can be worth the extra cost.
Tips For Success With Diy Paintless Dent Repair
1. Start Small
Begin with tiny dents in hidden spots before fixing visible areas.
2. Watch Videos
Seeing PDR in action helps more than just reading steps. Look for tutorials from real PDR techs.
3. Use Good Lighting
Work in a bright garage or outdoors. Shadows hide dents.
4. Keep Your Tools Clean
Dirty glue tabs or rods can scratch your paint.
5. Stay Patient
Don’t expect perfection right away. Each dent and car is different.
6. Know When To Stop
If you feel stuck, don’t force it. Ask a professional or check online forums.
Credit: www.turri-srl.com
Best Diy Paintless Dent Repair Kits
If you’re shopping for a kit, look for these features:
- Multiple rods and tips for different dent shapes.
- Glue pulling tools for hard-to-reach areas.
- Line board or reflection board for better visibility.
- Carrying case for organization.
Popular brands include Gliston, Mookis, and BBKANG. Read reviews and compare kits before buying. A good kit makes a big difference in results.
Safety Precautions
- Wear gloves to protect your hands from glue and sharp edges.
- Use eye protection when using hammers or mallets.
- Keep the work area well-ventilated if using glue or heat guns.
- Unplug tools when not in use.
- Don’t use excessive force—let the tools do the work.
Paintless Dent Repair And Car Value
Using PDR keeps your original paint. This is important for resale value. Repainted panels often lower a car’s price because buyers worry about accidents or poor repairs. When you use PDR, it’s almost impossible to tell there was ever a dent.
Where To Learn More
If you want to go further, many professional PDR technicians share tips on YouTube and forums. For detailed industry info, check the Wikipedia page on paintless dent repair.
Credit: www.youtube.com
Frequently Asked Questions
What Types Of Dents Can I Fix With Diy Paintless Dent Repair?
You can fix small to medium-sized dents with no paint damage, such as parking lot dings or hail dents. Deep, sharp, or creased dents are harder to repair at home.
How Long Does It Take To Repair A Dent With Pdr?
Most small dents take 30 minutes to 1 hour. Larger or stubborn dents may take longer. The more you practice, the faster you’ll get.
Will Diy Pdr Damage My Car’s Paint?
If done carefully, PDR will not damage your paint. Use gentle pressure, proper tools, and add heat to avoid cracking. Never try PDR on damaged paint.
Can I Use Pdr On Plastic Bumpers?
No. PDR works on metal panels only. Plastic bumpers require different repair methods because they flex and don’t hold shape like metal.
Should I Buy An Expensive Pdr Kit?
For beginners, a mid-priced kit ($40–$80) is enough. More expensive kits are for professionals with specialized tools. Start simple and upgrade if you enjoy the process.
If you follow these steps and tips, you’ll soon be able to fix common dents on your own—saving money and keeping your car looking sharp. Remember, practice and patience are the keys to successful paintless dent repair DIY.
